How to Shrink Video File Size: A Comprehensive Guide
Video files can quickly consume a significant amount of storage space, especially when you have a large collection of videos. Whether you’re running out of disk space or need to upload a video to a platform with strict file size limits, shrinking your video file size is a valuable skill. In this article, I’ll walk you through various methods to reduce the size of your video files effectively.
1. Choose the Right Format

The format of your video file plays a crucial role in its size. Some formats are inherently more compressed than others, which means they can store the same amount of data in a smaller file size. Here are some popular video formats and their compression capabilities:
| Format | Description | Compression |
|---|---|---|
| MP4 | Widely used format for web videos; supports both H.264 and H.265 codecs. | Highly compressed; excellent for web streaming. |
| AVI | Older format that supports a wide range of codecs. | Less compressed than MP4; may result in larger file sizes. |
| MOV | Used by Apple devices; supports various codecs. | Can be highly compressed, depending on the codec used. |
| WMV | Proprietary format by Microsoft; supports various codecs. | Can be highly compressed, depending on the codec used. |
When choosing a format, consider the compatibility with your devices and the platform where you’ll be using the video.
2. Adjust Video Resolution

Video resolution is another critical factor that affects file size. The higher the resolution, the more pixels the video has, and the larger the file size. Here’s how you can adjust the resolution to reduce file size:
-
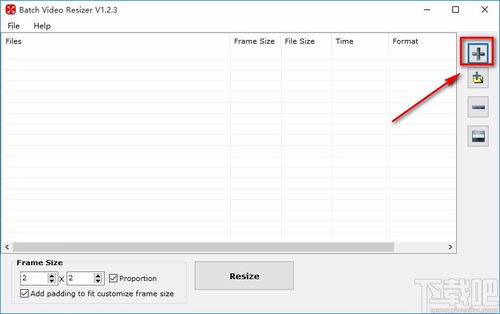
Lower the resolution: If you’re not using the video for high-definition purposes, you can reduce the resolution. For example, a 1080p video can be resized to 720p or even 480p to significantly reduce the file size.
-
Use a video editing tool: Most video editing software allows you to adjust the resolution of your video. Simply open your video in the software, find the resolution settings, and choose a lower resolution.
-
Use an online video resizer: There are several online tools available that can resize your video without the need for any software installation. Simply upload your video, select the desired resolution, and download the resized video.
3. Reduce Frame Rate

The frame rate of a video determines how many frames are displayed per second. A higher frame rate results in smoother motion, but it also increases the file size. Here’s how you can reduce the frame rate:
-
Lower the frame rate: If your video doesn’t require high motion quality, you can reduce the frame rate. For example, a 60fps video can be reduced to 30fps or even 24fps.
-
Use a video editing tool: Similar to adjusting the resolution, most video editing software allows you to adjust the frame rate. Open your video in the software, find the frame rate settings, and choose a lower value.
-
Use an online video resizer: Some online video resizers also offer frame rate adjustments. Upload your video, select the desired frame rate, and download the resized video.
4. Compress the Video
Video compression is the process of reducing the file size of a video without significantly affecting its quality. There are several compression techniques you can use:
-
Use a video compression tool: There are various video compression tools available that can reduce the file size of your video. These tools often offer advanced settings to control the compression level and quality.
-
Use a video


