
Mac: See Invisible Files
Have you ever wondered how to uncover the hidden files on your Mac? Whether you’re a tech-savvy user or just someone looking to explore the depths of your computer, seeing invisible files can be both intriguing and useful. In this detailed guide, I’ll walk you through various methods to make those hidden files visible on your Mac.
Understanding Hidden Files

Before diving into the methods, it’s essential to understand what hidden files are. Hidden files are files and folders that are not visible by default in the Finder. They are often used by the system for various purposes, such as storing configuration files or temporary data. These files are typically hidden to prevent accidental modification or deletion.
Hidden files can be identified by their file extension, which is usually followed by a period and a dot (e.g., .DS_Store, .com.apple_quicklook-generated, etc.). However, not all files with a dot in their name are hidden; some are simply files with a specific format.
Method 1: Using the Terminal
One of the most straightforward ways to see hidden files on your Mac is by using the Terminal. Here’s how you can do it:
- Open the Terminal application. You can find it in the /Applications/Utilities/ folder.
- Enter the following command:
defaults write com.apple.finder AppleShowAllFiles YES - Press Enter and then close the Terminal.
- Restart your Mac for the changes to take effect.
This command will make all hidden files visible in the Finder. To revert back to the default setting, enter the following command in the Terminal: defaults write com.apple.finder AppleShowAllFiles NO
Method 2: Using the Finder Preferences

Another method to make hidden files visible is by adjusting the Finder preferences. Here’s how to do it:
- Open the Finder application.
- Go to the menu bar and click on “Finder” > “Preferences” > “Advanced” (or press Command + , to open the preferences directly).
- Check the box next to “Show hidden files, folders, and drives.” This will make all hidden files visible in the Finder.
- Close the preferences window.
This method is more user-friendly than using the Terminal, as it doesn’t require any command-line knowledge. However, it’s worth noting that this setting will only affect the Finder and not other applications like the Terminal or Spotlight.
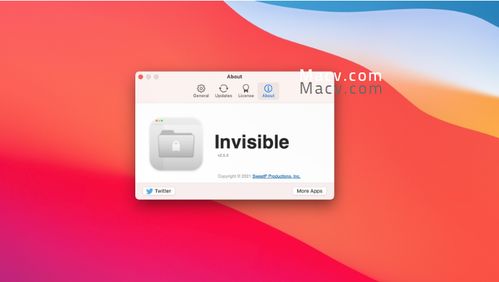
Method 3: Using a Third-Party Application
There are several third-party applications available that can help you see hidden files on your Mac. Some popular options include:
- FinderX: FinderX is a free application that allows you to toggle the visibility of hidden files with a simple click.
- HiddenFiles: HiddenFiles is a simple application that shows all hidden files and folders in the Finder sidebar.
- Unhide: Unhide is a free application that allows you to unhide and hide files and folders with a single click.
These applications are easy to use and can be a great alternative to the Terminal or Finder preferences, especially if you’re not comfortable using the command line or adjusting preferences manually.
Method 4: Using Spotlight
Spotlight is a powerful search tool on your Mac that can help you find hidden files. Here’s how to use it:
- Open Spotlight by clicking on the magnifying glass icon in the top-right corner of the menu bar or pressing Command + Space.
- Enter the name of the hidden file or folder in the search field.
- Spotlight will display the hidden file or folder in the search results.
This method is particularly useful if you know the name of the hidden file or folder you’re looking for. However, it won’t make all hidden files visible in the Finder.
Conclusion
Now that you know how to see hidden files on your Mac, you can explore the depths of your computer and uncover files that were previously hidden. Whether you’re looking for system files, configuration files, or simply curious about what’s hidden on your Mac, these methods will help you make those files visible. Just remember to exercise caution when modifying system files or deleting hidden files, as


