
Understanding the HTML File Input

When it comes to web development, the HTML file input is a crucial element that allows users to upload files to a server. In this detailed guide, I will walk you through the ins and outs of the HTML file input, covering its usage, limitations, and best practices.
Basic Structure of the HTML File Input
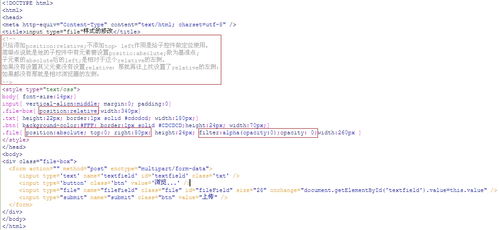
The HTML file input is defined using the `` element with the `type` attribute set to “file”. Here’s a simple example:
<input type="file" />This code snippet creates a file input field that users can click on to select a file from their local system. The selected file’s name is displayed in the input field, and the file itself is sent to the server when the form is submitted.
Attributes of the HTML File Input

The HTML file input has several attributes that you can use to customize its behavior:
- accept: Specifies the types of files that can be selected. For example, `accept=”image/”` allows users to select only image files.
- capture: Allows users to select a file from a camera or microphone. This attribute is useful for mobile devices.
- multiple: Allows users to select multiple files at once. This attribute is particularly useful for uploading multiple images or documents.
- name: Specifies the name of the input field when the form is submitted. This name is used to identify the uploaded file on the server.
- required: Indicates that the file input field must be filled out before the form can be submitted.
Handling File Uploads with JavaScript
While the HTML file input is a powerful tool on its own, you can enhance its functionality using JavaScript. Here are a few examples:
- File Preview: You can use the FileReader API to read the contents of a selected file and display a preview of the image or text content.
- File Validation: You can validate the selected file’s size, type, and other properties before submitting the form.
- File Upload Progress: You can track the progress of a file upload using the XMLHttpRequest object or the Fetch API.
Security Considerations
When dealing with file uploads, security is a critical concern. Here are a few tips to keep your application secure:
- Validate File Types: Always validate the file type on the server side to prevent malicious files from being uploaded.
- Limit File Size: Set a maximum file size limit to prevent denial-of-service attacks.
- Store Files Securely: Store uploaded files in a secure location on the server and use proper file permissions.
File Upload Examples
Here are a few examples of how the HTML file input can be used in different scenarios:
| Scenario | Example |
|---|---|
| Image Upload | <input type=”file” accept=”image/” /> |
| Document Upload | <input type=”file” accept=”.pdf,.doc,.docx” /> |
| Multiple File Upload | <input type=”file” multiple /> |
Conclusion
The HTML file input is a versatile tool that allows users to upload files to a server. By understanding its attributes, limitations, and best practices, you can create secure and efficient file upload forms for your web applications.


