
Unlocking the Full Potential of Your Synology NAS with VPN and Shared File Links in Finter
Are you looking to enhance the functionality of your Synology NAS? Do you want to share files securely and efficiently with others? If so, you’re in the right place. In this comprehensive guide, I’ll walk you through setting up a VPN on your Synology NAS and sharing files using Finter. Let’s dive in!
Understanding Synology NAS and VPN

Your Synology NAS is a powerful device that serves as a central storage hub for your data. With its robust features, it can handle a wide range of tasks, from file sharing to media streaming. A VPN, on the other hand, creates a secure and encrypted connection between your NAS and other devices, ensuring that your data remains protected from prying eyes.
By combining the power of your Synology NAS with a VPN, you can create a secure and efficient file-sharing environment. In this guide, we’ll be using Finter, a popular file-sharing platform that integrates seamlessly with Synology NAS.
Setting Up a VPN on Your Synology NAS
Before you can start sharing files, you need to set up a VPN on your Synology NAS. Here’s a step-by-step guide to help you get started:
- Log in to your Synology NAS using the web interface.
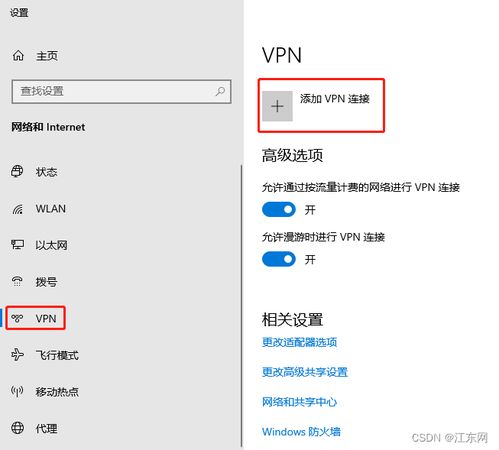
- Navigate to “Control Panel” and click on “VPN” under “Network” settings.
- Select the type of VPN you want to set up (e.g., OpenVPN, L2TP/IPsec, PPTP). For this guide, we’ll use OpenVPN.
- Click on “Create” to start the setup process.
- Enter the necessary information, such as the server address, port, and certificate details.
- Download the VPN configuration file from your VPN provider and upload it to your Synology NAS.
- Save the configuration and enable the VPN service.
Once the VPN is set up, your Synology NAS will be connected to the VPN server, ensuring that all data transmitted between your NAS and other devices is encrypted and secure.
Integrating Finter with Your Synology NAS

Finter is a user-friendly file-sharing platform that allows you to share files with others securely. To integrate Finter with your Synology NAS, follow these steps:
- Log in to your Finter account.
- Click on “Create New Share” and select “Synology NAS” as the sharing method.
- Enter the necessary details, such as the NAS IP address, username, and password.
- Select the folder you want to share and set the permissions for your users.
- Save the share and share the link with your intended recipients.
With Finter, you can easily share files with others, and they can access the shared folder using the provided link. The platform ensures that all data transferred between your NAS and the recipient’s device is encrypted and secure.
Enhancing Security with VPN and Finter
By combining a VPN with Finter, you can create a secure and efficient file-sharing environment. Here are some key benefits:
- Encryption: All data transmitted between your Synology NAS and other devices is encrypted, ensuring that your files remain secure from unauthorized access.
- Remote Access: With a VPN, you can access your Synology NAS and shared files from anywhere in the world, as long as you have an internet connection.
- Custom Permissions: Finter allows you to set custom permissions for each user, ensuring that only authorized individuals can access specific files or folders.
- Easy to Use: Both VPN and Finter are user-friendly platforms that require minimal technical knowledge to set up and use.
Conclusion
Setting up a VPN on your Synology NAS and sharing files using Finter is a great way to enhance the functionality and security of your file-sharing environment. By following the steps outlined in this guide, you can create a secure and efficient file-sharing platform that meets your needs.
Remember to keep your VPN and Finter accounts secure by using strong passwords and enabling two-factor authentication. With these measures in place, you can enjoy peace of mind knowing that your data is safe and accessible whenever you need it.


