
Standalone Tomcat with a WAR File as Context: A Detailed Guide
Setting up a standalone Tomcat server with a WAR file as the context is a common task for developers and system administrators. This guide will walk you through the process step by step, ensuring that you have a clear understanding of each aspect involved.
Understanding the Basics

Before diving into the setup process, it’s essential to understand some key concepts. A WAR (Web Application Archive) file is a standard format for packaging web applications. It contains all the files and directories required to run the application. A standalone Tomcat server is a self-contained server that can be used to deploy and run web applications without the need for additional software.
Prerequisites
Before you begin, make sure you have the following prerequisites in place:
- Java Development Kit (JDK) installed on your system
- Apache Tomcat server installed and running
- WAR file of your web application
Step-by-Step Guide
Now, let’s go through the process of setting up a standalone Tomcat server with a WAR file as the context.
Step 1: Locate the Tomcat Installation Directory
Open a terminal or command prompt and navigate to the directory where Tomcat is installed. This is typically located in a directory named “tomcat” or “apache-tomcat” under your user’s home directory or a system-wide directory.
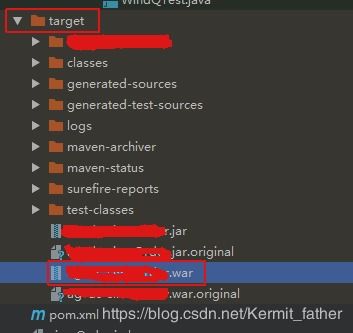
Step 2: Copy the WAR File to the Web Applications Directory
Copy the WAR file to the “webapps” directory of your Tomcat installation. This directory is located within the Tomcat installation directory. For example:
cp /path/to/your/warfile.war /path/to/tomcat-installation/webapps
Step 3: Rename the WAR File
By default, Tomcat will extract the contents of the WAR file into a directory with the same name as the WAR file. To use the WAR file as the context, you need to rename the directory to a name that represents your application. For example:
mv webapps/warfile.war webapps/myapp
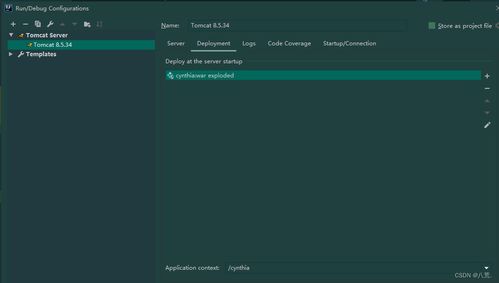
Step 4: Configure the Context
Tomcat uses a configuration file called “context.xml” to define the context for each web application. To configure the context for your application, you need to create or modify the “context.xml” file located in the “conf” directory of your Tomcat installation.
Open the “context.xml” file in a text editor and add the following configuration:
<Context> <Environment name="JAVA_HOME" type="string" value="/path/to/java/home"></Environment> <Environment name="CATALINA_HOME" type="string" value="/path/to/tomcat/installation"></Environment> <Environment name="CATALINA_BASE" type="string" value="${catalina.home}"/> <Environment name="CATALINA_TMPDIR" type="string" value="${catalina.base}/temp"/> <Environment name="CATALINA_HOME" type="string" value="${catalina.home}"/> <Environment name="CATALINA_BASE" type="string" value="${catalina.base}"/> <Environment name="CATALINA_TMPDIR" type="string" value="${catalina.base}/temp"/> <Environment name="JAVA_OPTS" type="string" value="-Djava.endorsed.dirs=${catalina.home}/endorsed -Xms512m -Xmx1024m"/> <Environment name="CLASSPATH" type="string" value="${catalina.home}/lib/:${catalina.base}/lib/"/> <Environment name="JAVA_ENDORSED_DIRS" type="string" value="${catalina.home}/endorsed"/> <Environment name="JAVA_HOME" type="string" value="${JAVA_HOME}"/> <Environment name="CATALINA_HOME" type="string" value="${CATALINA_HOME}"/> <Environment name="CATALINA_BASE" type="string" value="${CATALINA_BASE}"/> <Environment name="CATALINA_TMPDIR" type="string" value="${


