How to Add Git Files to a Virtual Machine
Managing your code in a virtual machine can be a powerful way to ensure consistency across different environments. If you’re working on a project and need to add Git files to your virtual machine, here’s a step-by-step guide to help you through the process.
Step 1: Set Up Your Virtual Machine

Before you can add Git files to your virtual machine, you need to have a virtual machine set up. If you haven’t already, you can use tools like VirtualBox or VMware to create a new virtual machine. Make sure to allocate enough resources to your virtual machine to handle your development needs.
Step 2: Install Git on Your Virtual Machine

Once your virtual machine is set up, you need to install Git. Open a terminal or command prompt in your virtual machine and run the following command to install Git:
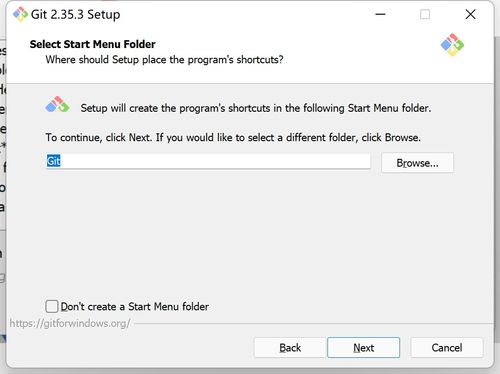
sudo apt-get updatesudo apt-get install gitFor Windows users, you can download and install Git from the official website.
Step 3: Clone Your Repository

Now that Git is installed, you can clone your repository to your virtual machine. Replace your-repository-url with the URL of your Git repository:
git clone your-repository-urlThis command will create a local copy of your repository in the current directory.
Step 4: Configure Your Git Repository
After cloning your repository, you may need to configure it. This includes setting your username and email, which Git uses to track changes:
git config --global user.name "Your Name"git config --global user.email "your-email@example.com"Replace “Your Name” and “your-email@example.com” with your actual name and email address.
Step 5: Add and Commit Changes
Now that your repository is set up, you can start making changes. Add the files you want to commit using the following command:
git add Replace file-name with the name of the file you want to add. You can also use the wildcard character () to add all files in the current directory:
git add After adding files, commit your changes using the following command:
git commit -m "Your commit message"Replace “Your commit message” with a description of the changes you made.
Step 6: Push Changes to the Remote Repository
Once you’ve committed your changes, you can push them to the remote repository:
git push origin mainReplace “main” with the name of the branch you’re working on. This command will upload your changes to the remote repository.
Step 7: Update Your Virtual Machine
After pushing your changes, you may need to update your virtual machine to reflect the latest changes. This can be done by pulling the latest changes from the remote repository:
git pull origin mainThis command will download the latest changes from the remote repository and update your local copy.
Step 8: Test Your Application
After updating your virtual machine, it’s a good idea to test your application to ensure that everything is working as expected. This will help you catch any issues early on.
Step 9: Repeat as Necessary
As you continue to work on your project, you’ll need to repeat these steps to add new files, commit changes, and push updates to the remote repository.
By following these steps, you can easily add Git files to your virtual machine and manage your code effectively. Remember to keep your repository updated and test your application regularly to ensure a smooth development process.


