
Outlook 365: Change Location of OST File
Managing your Outlook 365 data efficiently is crucial for maintaining productivity and organization. One of the key aspects of this management is determining the location of your Outlook Data File, also known as the OST file. This file stores all your emails, contacts, calendars, and tasks. In this article, we will guide you through the process of changing the location of your OST file in Outlook 365, ensuring that your data is stored where you want it to be.
Understanding the OST File

The OST file is an essential component of Outlook 365. It allows you to work offline by synchronizing your email and calendar data with the server. This synchronization ensures that you can access your data even when you are not connected to the internet. However, the default location of the OST file might not always be convenient for you. Here鈥檚 how to change it.
Step-by-Step Guide to Change the Location of Your OST File
Changing the location of your OST file is a straightforward process. Follow these steps to do it:
- Open Outlook 365 on your computer.
- Click on the “File” tab at the top left corner of the window.
- Select “Account Settings” from the dropdown menu.
- In the Account Settings dialog box, click on the “Data Files” tab.
- Here, you will see a list of all the data files associated with your Outlook profile. Find the OST file you want to move and click on it.
- Click on the “Change Folder” button.
- Select the new location where you want to store the OST file. You can either choose an existing folder or create a new one.
- Click “OK” to confirm the changes.
- Outlook will now move the OST file to the new location and update the profile settings accordingly.
It is important to note that changing the location of your OST file will not affect the data within it. All your emails, contacts, calendars, and tasks will remain intact.
Why Change the Location of Your OST File?

There are several reasons why you might want to change the location of your OST file:
- Storage Efficiency: By moving your OST file to a different location, you can free up space on your primary storage device.
- Data Security: Storing your OST file on an external drive or a network location can enhance the security of your data.
- Backup and Recovery: Having your OST file stored in a separate location makes it easier to back up and recover your data in case of any unforeseen issues.
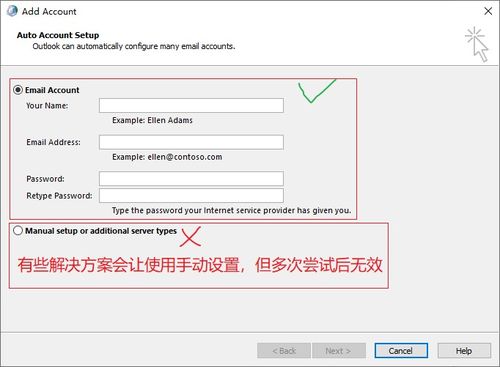
Common Issues and Solutions
While changing the location of your OST file is generally a smooth process, you might encounter some issues along the way. Here are some common problems and their solutions:
- Problem: Outlook is unable to find the new location of the OST file.
- Solution: Ensure that the new location is accessible and that you have the necessary permissions to access it.
- Problem: The OST file is not updating after changing its location.
- Solution: Close Outlook, navigate to the new location of the OST file, and delete the existing OST file. Restart Outlook, and it will create a new OST file in the new location.
- Problem: You receive an error message when trying to change the location of the OST file.
- Solution: Check if the new location is compatible with Outlook and if there are any restrictions on file access.
Conclusion
Changing the location of your OST file in Outlook 365 is a simple yet effective way to manage your data more efficiently. By following the steps outlined in this article, you can ensure that your data is stored where you want it to be, enhancing both productivity and security. Remember to back up your data regularly to prevent any loss of information.
| Step | Action |
|---|---|
| 1 | Open Outlook 365 |


