
Convert Your GLTF File to STEP with GitHub: A Comprehensive Guide
Are you looking to convert your GLTF file to STEP format? If so, you’ve come to the right place. In this detailed guide, I’ll walk you through the process of converting your GLTF file to STEP using GitHub. Whether you’re a beginner or an experienced user, this guide will provide you with all the information you need to successfully complete the conversion.
Understanding GLTF and STEP Formats

Before diving into the conversion process, it’s important to understand what GLTF and STEP formats are.
GLTF (GL Transmission Format) is a file format for 3D models and scenes. It is designed to be efficient and compact, making it ideal for web-based applications and real-time rendering. GLTF files contain all the necessary information to represent a 3D model, including its geometry, materials, and animations.
STEP (Standard for the Exchange of Product Model Data) is a file format used for exchanging 3D design data. It is widely used in the engineering and manufacturing industries due to its ability to preserve the integrity of the original design data.
Now that we have a basic understanding of both formats, let’s move on to the conversion process.
Setting Up Your GitHub Repository
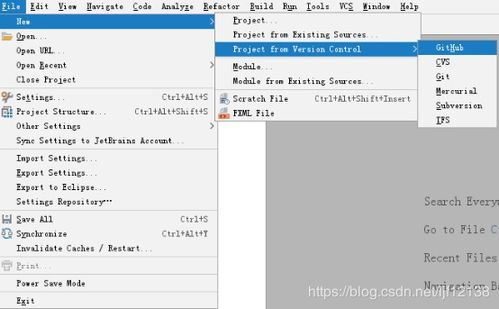
The first step in converting your GLTF file to STEP is to set up a GitHub repository. If you don’t already have a GitHub account, you’ll need to create one. Once you have an account, follow these steps to set up your repository:
- Go to GitHub and log in to your account.
- Click on the “+” button in the upper-right corner of the page.
- Select “New repository” from the dropdown menu.
- Enter a name for your repository, such as “GLTF_to_STEP_conversion”.
- Check the box next to “Initialize this repository with a README” to create a README file for your project.
- Click the “Create repository” button.
Your GitHub repository is now set up and ready to use.
Uploading Your GLTF File
Next, you’ll need to upload your GLTF file to your GitHub repository. Here’s how to do it:
- Go to your GitHub repository and click on the “Files” tab.
- Click on the “+” button in the upper-right corner of the page.
- Select “Upload files” from the dropdown menu.
- Browse for your GLTF file and click “Upload” to add it to your repository.
Your GLTF file is now uploaded to your GitHub repository.
Using a GLTF to STEP Conversion Tool
There are several tools available for converting GLTF files to STEP format. One popular option is the glTF-Validator, which can be used to validate and convert GLTF files to other formats, including STEP.
Here’s how to use the glTF-Validator to convert your GLTF file to STEP:
- Download the glTF-Validator from the GitHub repository.
- Install the tool on your computer.
- Open a command prompt or terminal and navigate to the directory where you installed the glTF-Validator.
- Run the following command to convert your GLTF file to STEP:
glTF-Validator -i yourfile.glb -o yourfile.step
Replace “yourfile.glb” with the name of your GLTF file and “yourfile.step” with the desired name for your STEP file. The conversion process may take a few minutes, depending on the size of your file.
Uploading the Converted STEP File
Once the conversion process is complete, you’ll need to upload the STEP file to your GitHub repository. Here’s how to do it:
- Go to your GitHub repository and click on the “Files” tab.
- Click on the “+” button in the upper-right corner of the page.
- Select “Upload files” from the


