
File Comparison Excel: A Comprehensive Guide
Are you tired of manually comparing files and spending hours trying to identify differences? Look no further! In this detailed guide, I will walk you through the ins and outs of using Excel for file comparison. Whether you are a professional or a hobbyist, this guide will help you make the most out of Excel’s file comparison capabilities.
Understanding File Comparison

File comparison is the process of identifying differences between two files. This can be useful in various scenarios, such as merging documents, identifying changes in code, or simply verifying the integrity of files. Excel offers a built-in feature that allows you to compare files with ease.
Setting Up Excel for File Comparison
Before you start comparing files, you need to set up Excel. Here’s a step-by-step guide to get you started:
- Open Excel and create a new workbook.
- Go to the “Data” tab on the ribbon.
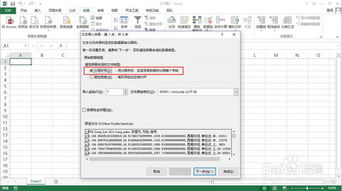
- Click on “Get & Transform Data” and then select “From File” > “From Folder” > “From Excel Files”.
- Select the folder containing the files you want to compare and click “OK”.
- Excel will automatically create a new workbook with the files you selected.
Now that you have your files in Excel, you can proceed to the next step.
Comparing Files in Excel
Excel provides a built-in feature called “Compare Files” that allows you to compare two files side by side. Here’s how to use it:
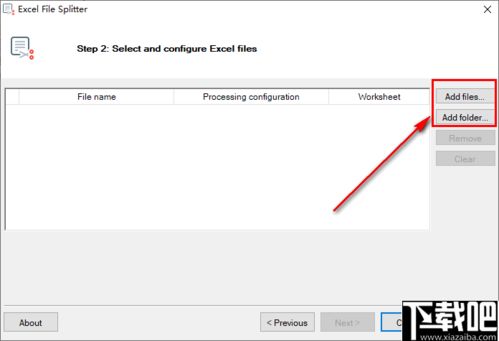
- Select the first file you want to compare by clicking on its name in the workbook.
- Go to the “Data” tab on the ribbon.
- Click on “Get & Transform Data” and then select “Compare Files”.
- Select the second file you want to compare and click “OK”.
- Excel will display a new workbook with the differences between the two files.
The differences will be highlighted in different colors, making it easy to identify changes. You can also use the “Show/Hide Differences” button to toggle the visibility of the differences.
Customizing the File Comparison
Excel allows you to customize the file comparison process to suit your needs. Here are some of the options you can explore:
- Comparison Options: You can choose to compare only the visible cells, entire rows, or entire columns.
- Ignore Hidden Rows/Columns: This option allows you to ignore hidden rows or columns during the comparison.
- Ignore Formulas: If you want to compare only the values and not the formulas, you can enable this option.
- Ignore Errors: This option allows you to ignore errors during the comparison.
By customizing the comparison options, you can ensure that the comparison process meets your specific requirements.
Using the Comparison Results
Once you have completed the file comparison, you can use the results to make necessary changes or merge the files. Here are some tips on how to make the most out of the comparison results:
- Copy and Paste Changes: You can copy the changes from the comparison workbook and paste them into the original files.
- Highlight Differences: Use Excel’s highlighting features to make it easier to identify changes in the original files.
- Use Comments: Add comments to the original files to document the changes made during the comparison.
By utilizing the comparison results effectively, you can save time and ensure that your files are accurate and up-to-date.
Conclusion
Excel’s file comparison feature is a powerful tool that can help you save time and effort when comparing files. By following this comprehensive guide, you can master the art of file comparison in Excel and make the most out of its capabilities. Whether you are a professional or a hobbyist, Excel’s file comparison feature is a valuable addition to your toolkit.


