
Using Finder on MacBook to Show and Download Files from URLs
Managing files on your MacBook is an essential skill, especially when it comes to downloading files from URLs. The Finder app, which comes pre-installed on all MacBooks, makes this process straightforward and efficient. In this detailed guide, I’ll walk you through the steps to show and download files from URLs using Finder on your MacBook. Let’s dive in!
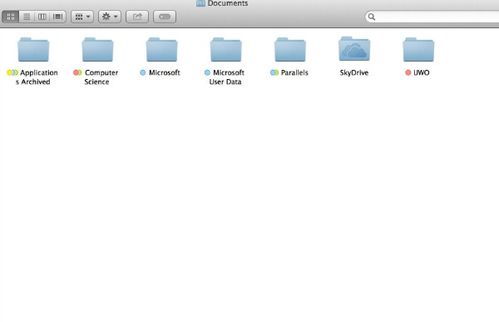
Locating the Finder App

The Finder app is easily accessible from your MacBook’s dock. If you can’t find it, you can also search for it using Spotlight (Cmd + Space) and typing “Finder.” Once you have the Finder app open, you’re ready to proceed.
Opening the URL in Finder
There are several ways to open a URL in Finder. The most common method is to drag and drop the URL from your web browser into the Finder window. Alternatively, you can right-click on the URL and select “Open in Finder.” This will open the Finder window and display the file or folder associated with the URL.
Viewing the File in Finder

Once the file is in Finder, you can view it by simply clicking on it. If the file is a document, it will open in the default application associated with that file type. For example, a PDF file will open in Preview, while a Word document will open in Microsoft Word (or Pages, if you have it installed). If the file is a folder, you can explore its contents by double-clicking on it.
| File Type | Default Application |
|---|---|
| Preview | |
| Word Document | Microsoft Word (or Pages) |
| Image | Preview |
| Text File | TextEdit |
Downloading the File
Now that you’ve located the file in Finder, you can download it by right-clicking on it and selecting “Download.” This will automatically save the file to your MacBook’s default download location, which is typically the “Downloads” folder. You can also drag and drop the file to another folder of your choice.
Customizing Your Download Location
By default, Finder saves downloaded files to the “Downloads” folder. However, you can change this setting to your preferred location. To do this, go to Finder’s preferences by clicking on “Finder” in the menu bar and selecting “Preferences.” In the General tab, you’ll find the option to change the download location. Simply select a new folder and click “OK” to save the changes.
Using Quick Look to Preview Files
Quick Look is a convenient feature in Finder that allows you to preview files without opening them. To use Quick Look, simply select the file you want to preview and press the spacebar. This will open a new window with a preview of the file. You can navigate through the preview using the arrow keys and press the spacebar again to close it.
Organizing Your Files
Once you’ve downloaded and viewed your files, it’s essential to organize them for easy access. You can create folders within Finder to categorize your files. To create a new folder, right-click in the Finder window and select “New Folder.” Give the folder a name and press Enter. Then, drag and drop your files into the appropriate folders.
Using Tags for File Management
Finder also allows you to use tags to organize your files. Tags are metadata that you can assign to files, making it easier to find them later. To add a tag to a file, right-click on it and select “Tags.” Choose a tag from the list or create a new one. You can also search for files using tags by clicking on the “Tags” button in the Finder window’s toolbar.
Accessing Downloaded Files from Other Devices
With macOS’s Continuity feature, you can access your downloaded files from other devices, such as your iPhone or iPad. To do


