
Transforming OST to PST: A Comprehensive Guide for You
Are you looking to convert your OST files to PST format? If so, you’ve come to the right place. In this detailed guide, I’ll walk you through the process, covering various aspects to ensure a smooth transition. Whether you’re a beginner or an experienced user, this article will provide you with all the information you need.
Understanding OST and PST Files

Before diving into the conversion process, it’s essential to understand the difference between OST and PST files.
| OST File | PST File |
|---|---|
| Offline Storage Table | Personal Storage Table |
| Used for offline access to Exchange Server data | Used for storing email, contacts, calendars, and other Outlook data |
| Created by Outlook when connected to an Exchange Server | Can be created manually or by importing data from other sources |
OST files are primarily used for accessing Exchange Server data when you’re not connected to the server. On the other hand, PST files are used for storing and managing your Outlook data, including emails, contacts, calendars, and more.
Why Convert OST to PST?

There are several reasons why you might want to convert your OST files to PST format:
-
Accessing data on non-Exchange servers
-
Backup and recovery purposes
-
Combining multiple OST files into a single PST file
-
Upgrading to a newer version of Outlook
Methods to Convert OST to PST
There are several methods to convert OST to PST. Let’s explore some of the most popular ones:
Method 1: Using Outlook’s Built-in Feature
Outlook has a built-in feature that allows you to convert OST files to PST format. Here’s how to do it:
-
Open Outlook and go to the File menu.
-
Select “Open & Export” and then click on “Import/Export.”
-
In the Import and Export Wizard, choose “Import from another program or file” and click “Next.”
-
Select “Outlook Data File (.ost)” and click “Next.”
-
Browse for the OST file you want to convert and click “Next.”
-
Select the destination folder for the PST file and click “Finish.”
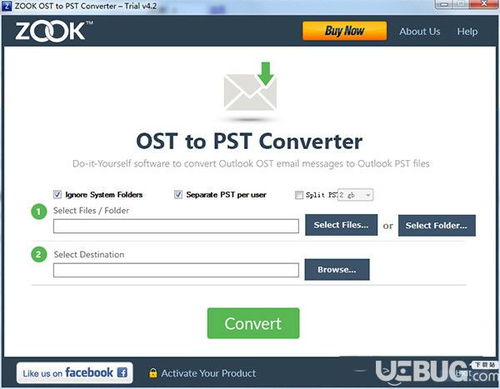
Method 2: Using Third-Party Software
There are several third-party software tools available that can help you convert OST to PST. Some popular options include:
-
OST to PST Converter by USL Software
-
OST Extractor Pro by USL Software
-
OST to PST Converter by SysTools
These tools offer a user-friendly interface and advanced features to ensure a successful conversion.
Method 3: Manual Conversion
For those who prefer a more hands-on approach, you can manually convert OST to PST by following these steps:
-
Open the OST file in Outlook.
-
Export the data from the OST file to a new PST file.
-
Save the PST file to your desired location.
This method requires a good understanding of Outlook and its features.
Best Practices for a Successful Conversion
Here are some best practices to ensure a successful conversion from OST to PST:
-
Backup your OST file before starting the conversion process.
-
Choose a reliable conversion method or tool.
-
Follow the instructions carefully to avoid errors.
-
Test the converted PST file to


