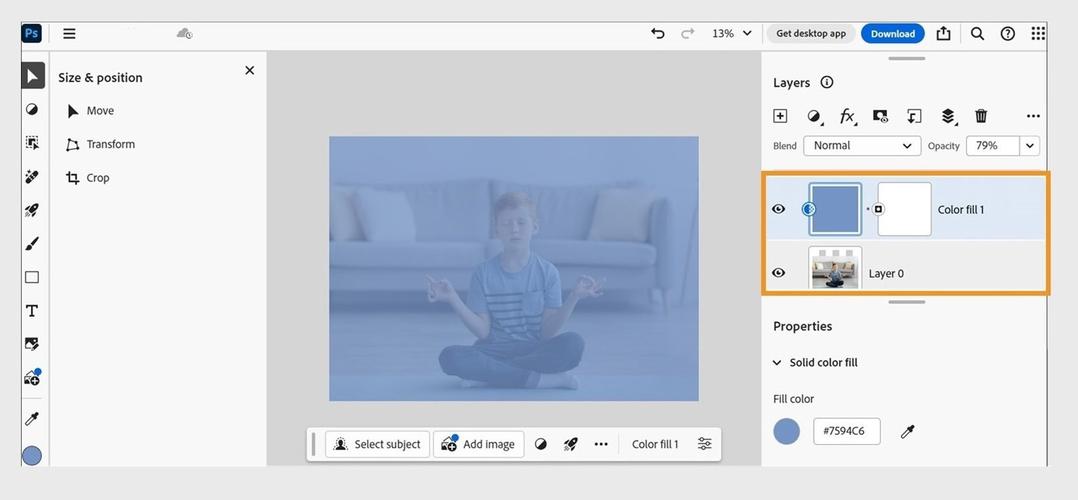
Photoshop: Save Individual Layers as JPG in Separate Files
Are you working on a Photoshop project and need to save each layer as a separate JPG file? This can be a crucial step for various reasons, such as preparing images for web use or creating a series of images for a presentation. In this guide, I’ll walk you through the process of saving individual layers as JPG files in Photoshop, ensuring that you have a seamless and efficient workflow.
Understanding the Process
Before diving into the steps, it’s essential to understand the process. When you save individual layers as JPG files, you’re essentially extracting each layer from the composite image and converting it into a separate JPG file. This can be done manually or using a script for bulk operations.
Manual Saving of Layers
Here’s how to save each layer as a separate JPG file manually:
- Open your Photoshop document.
- Select the layer you want to save as a JPG file.
- Go to the “File” menu and choose “Save As” or press “Ctrl + Shift + S” (Cmd + Shift + S on Mac).
- In the “Save As” dialog box, choose “JPEG” from the “Format” dropdown menu.
- Enter a file name and select a location to save the file.
- Click “Save” to save the selected layer as a JPG file.
This process needs to be repeated for each layer you want to save as a separate file.
Using Photoshop Actions
For a more efficient approach, you can use Photoshop actions. An action is a recorded series of steps that can be played back to automate tasks. Here’s how to create and use an action to save individual layers as JPG files:
- Open your Photoshop document.
- Go to the “Window” menu and select “Actions” to open the Actions panel.
- Click on the “Create New Action” button at the bottom of the Actions panel.
- Give your action a name, such as “Save Layers as JPG,” and click “Record.”
- Select the layer you want to save as a JPG file.
- Go to the “File” menu and choose “Save As” or press “Ctrl + Shift + S” (Cmd + Shift + S on Mac).
- In the “Save As” dialog box, choose “JPEG” from the “Format” dropdown menu.
- Enter a file name and select a location to save the file.
- Click “Save” to save the selected layer as a JPG file.
- Repeat steps 5 to 11 for each layer you want to save.
- Click the “Stop Playing” button at the bottom of the Actions panel to stop recording the action.
Now, whenever you want to save individual layers as JPG files, you can simply play the action.

Using Photoshop Scripts
For bulk operations, you can use Photoshop scripts. A script is a series of commands that can be executed to automate tasks. Here’s how to create and use a script to save individual layers as JPG files:
- Open your Photoshop document.
- Go to the “File” menu and select “Script” > “New Script.” This will open the Script Events dialog box.
- In the “Script Events” dialog box, select “Save As” from the “Event” dropdown menu.
- Check the “Include All Layers” option.
- Choose “JPEG” from the “Format” dropdown menu.
- Enter a file name and select a location to save the files.
- Click “OK” to create the script.
- Go to the “File” menu and select “Script” > “Run Script.” This will execute the script and save each layer as a separate JPG file.
This script can be saved and executed whenever you need to save individual layers as JPG files in bulk.
Conclusion
Saving individual layers as JPG files in Photoshop can be a time-consuming task, but with the right approach, it


