
Unlocking the Hidden World of Your Mac: Show Hidden Files
Have you ever wondered what lies beneath the surface of your Mac’s interface? The answer is, quite a lot. By default, macOS hides certain files and folders to keep your system organized and user-friendly. However, there are times when you might need to access these hidden files for various reasons. In this guide, we’ll delve into how to show hidden files on your Mac, exploring different methods and their nuances.
Why Show Hidden Files?

Before we dive into the methods, let’s understand why you might want to show hidden files on your Mac. Here are a few common reasons:
-
Accessing system files for troubleshooting or customization.
-
Editing files that are hidden by default, such as configuration files or cache files.
-
Managing files that are stored in hidden folders, like the Library folder.
Method 1: Using the Terminal
The Terminal is a powerful tool that allows you to execute commands and modify your system settings. To show hidden files using the Terminal, follow these steps:
-
Open the Terminal application. You can find it in the /Applications/Utilities/ folder.
-
Enter the following command:
-
defaults write com.apple.finder AppleShowAllFiles YES -
Press Enter and then close the Terminal.
-
Restart your Mac for the changes to take effect.
This command changes the value of the AppleShowAllFiles key to YES, which tells Finder to show hidden files and folders.
Method 2: Using the Finder Preferences

Another way to show hidden files on your Mac is by modifying the Finder preferences. Here’s how to do it:
-
Open the Finder application.
-
Go to the menu bar and click on “Finder” > “Preferences” > “Advanced” (or press Command + , to open the preferences directly).
-
Check the box next to “Show hidden files and folders” in the Advanced tab.
-
Click “OK” to save the changes.
This method is more user-friendly than using the Terminal, as it doesn’t require any command-line knowledge.
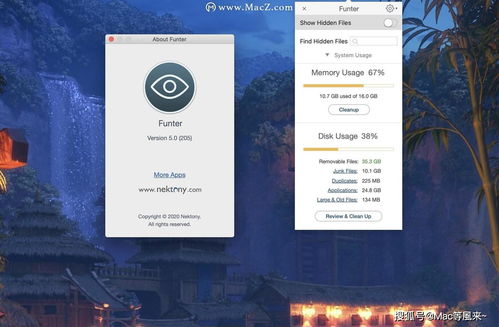
Method 3: Using a Third-Party Application
There are several third-party applications available that can help you show hidden files on your Mac. Some popular options include:
These applications provide a user-friendly interface and additional features, such as the ability to hide files and folders, as well as search for hidden files.
Method 4: Using the Command Line
In addition to the Terminal command we discussed earlier, you can also use the command line to show hidden files. Here’s how:
-
Open the Terminal application.
-
Enter the following command:
-
defaults write com.apple.finder AppleShowAllFiles YES && killall Finder -
Press Enter and then close the Terminal.
-
Restart your Mac for the changes to take effect.
This command combines the previous Terminal command with the killall Finder command, which forces Finder to reload and apply the changes.
Method 5: Using the Go Menu
Another quick way to show hidden files is by using the Go menu in Finder. Here’s how:
-
Open the Finder application.
-
Press Command


