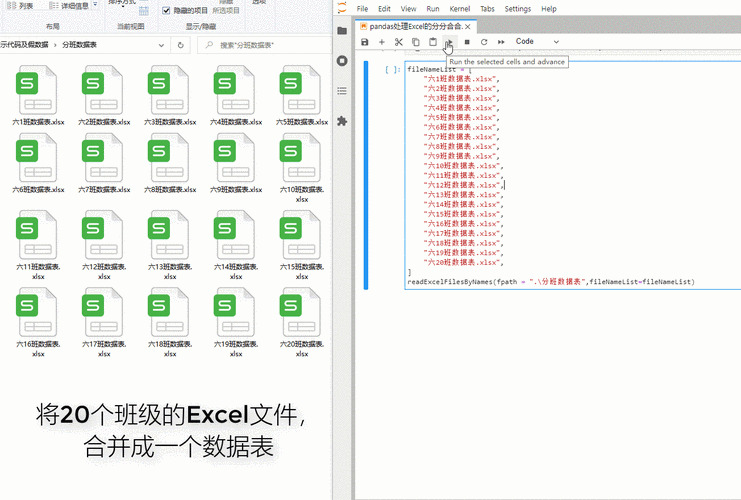
Create Excel File with Sheets Using Pandas
Are you looking to create an Excel file with multiple sheets using Pandas? If so, you’ve come to the right place. Pandas is a powerful Python library that provides high-performance, easy-to-use data structures and data analysis tools. In this article, I’ll guide you through the process of creating an Excel file with multiple sheets using Pandas, step by step.
Understanding the Basics
Before diving into the code, let’s understand the basic concepts. An Excel file can have multiple sheets, each containing different data. Pandas allows you to create an Excel file with multiple sheets by using the `ExcelWriter` object and the `to_excel` method.

Setting Up Your Environment
Make sure you have Python and Pandas installed on your system. You can install Pandas by running the following command in your terminal or command prompt:
pip install pandasAdditionally, you’ll need to install the `openpyxl` library, which is used by Pandas to write Excel files. You can install it using the following command:
pip install openpyxlCreating an Excel File with Multiple Sheets
Now that you have everything set up, let’s create an Excel file with multiple sheets. We’ll start by importing the necessary libraries and creating some sample data.
import pandas as pd Sample data for Sheet 1data1 = {'Name': ['Alice', 'Bob', 'Charlie'], 'Age': [25, 30, 35], 'City': ['New York', 'Los Angeles', 'Chicago']} Sample data for Sheet 2data2 = {'Product': ['Product A', 'Product B', 'Product C'], 'Price': [10.99, 15.99, 20.99], 'Category': ['Electronics', 'Clothing', 'Home']} Create DataFramesdf1 = pd.DataFrame(data1)df2 = pd.DataFrame(data2)Next, we’ll create an `ExcelWriter` object and specify the file name. We’ll then use the `to_excel` method to write each DataFrame to a separate sheet.

with pd.ExcelWriter('multiple_sheets.xlsx') as writer: df1.to_excel(writer, sheet_name='Sheet1', index=False) df2.to_excel(writer, sheet_name='Sheet2', index=False)In the above code, we’ve created an Excel file named ‘multiple_sheets.xlsx’ and added two sheets: ‘Sheet1’ and ‘Sheet2’. The `index=False` parameter is used to prevent Pandas from writing row indices to the Excel file.
Customizing the Excel File
By default, Pandas uses the `openpyxl` engine to write Excel files. You can customize the Excel file by modifying the `ExcelWriter` object. For example, you can set the file format, sheet title, and other properties.
with pd.ExcelWriter('multiple_sheets.xlsx', engine='openpyxl') as writer: writer.book.title = 'My Excel File' writer.book.sheet_properties['Sheet1'].title = 'Customer Data' writer.book.sheet_properties['Sheet2'].title = 'Product Data' df1.to_excel(writer, sheet_name='Customer Data', index=False) df2.to_excel(writer, sheet_name='Product Data', index=False)In the above code, we’ve set the title of the Excel file to ‘My Excel File’ and customized the titles of the sheets to ‘Customer Data’ and ‘Product Data’.
Adding Data Validation
Data validation is an essential feature that ensures the accuracy and consistency of data in your Excel file. Pandas allows you to add data validation to your Excel file using the `to_excel` method.
with pd.ExcelWriter('multiple_sheets.xlsx', engine='openpyxl') as writer: df1.to_excel(writer, sheet_name='Customer Data', index=False) df2.to_excel(writer, sheet_name='Product Data', index=False) Add data validation to Sheet1 validation1 = {'type': 'list', 'formula1': '"New York,Los Angeles,Chicago"', 'showDropDown': True} writer.sheets['Customer Data'].validate('City', validation1) Add data validation to Sheet2 validation2 = {'type': 'integer', 'showInputMessage': True, 'showErrorMessage': True, 'errorTitle': '


