
How to Lock MacBook Files in a Grid: A Comprehensive Guide
Managing files on your MacBook can be a daunting task, especially when you have a vast collection of documents, photos, and other important files. One effective way to keep your files organized and secure is by locking them in a grid. This not only ensures that your files are easily accessible but also provides an additional layer of security. In this guide, we will explore various methods to lock your MacBook files in a grid, helping you maintain a clutter-free and secure workspace.
Understanding Grids on MacBook

A grid is a layout that organizes files and folders in a structured manner. On your MacBook, you can create a grid using Finder, which is the default file manager. Grid view allows you to view files and folders in a grid format, making it easier to navigate through your files. To enable grid view, simply click on the “View” menu and select “Grid.”
Using Finder to Lock Files in a Grid
One of the simplest ways to lock files in a grid is by using Finder’s built-in features. Here’s how you can do it:
- Open Finder and navigate to the folder containing the files you want to lock.
- Click on the “View” menu and select “Grid” to enable grid view.
- Right-click on the file or folder you want to lock and select “Get Info.”
- In the “Get Info” window, click on the “Lock” button to lock the file or folder.
- Repeat the process for all the files and folders you want to lock.
By locking files in grid view, you can ensure that they remain secure and accessible only to authorized users.
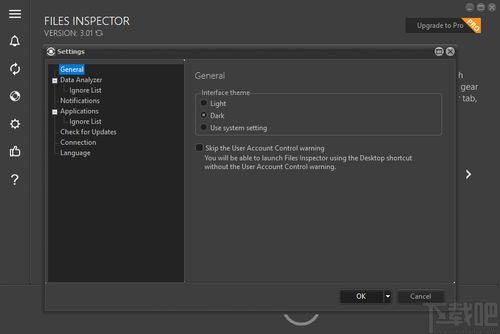
Using Third-Party Apps to Lock Files in a Grid
While Finder’s built-in features are sufficient for basic file locking, you may want to explore third-party apps for more advanced security and customization options. Here are some popular third-party apps that can help you lock files in a grid:
| App Name | Description | Price |
|---|---|---|
| FileVault | Mac’s built-in encryption feature that allows you to encrypt entire drives or individual files and folders. | Free |
| 1Password | A password manager that also offers file locking and encryption features. | Starting at $2.99/month |
| MacPaw Hider 2 | A file and folder locker that allows you to hide and lock files and folders with a password. | Starting at $19.95 |
These apps provide additional security features, such as password protection, encryption, and access control, making them ideal for users who require a higher level of security for their files.
Locking Files in a Grid for Remote Access
If you need to access your locked files remotely, you can use cloud storage services like Dropbox, Google Drive, or iCloud Drive. Here’s how to lock files in a grid for remote access:
- Upload the files you want to lock to your chosen cloud storage service.
- Enable two-factor authentication for an additional layer of security.
- Use the cloud storage service’s built-in file locking feature, if available.
- Access the locked files from any device with an internet connection.
This method allows you to keep your files secure while providing convenient remote access.
Best Practices for Locking Files in a Grid
When locking files in a grid, it’s essential to follow best practices to ensure the security and accessibility of your files:
- Use strong passwords: Create unique, complex passwords for each file or folder to prevent unauthorized access.
- Regularly update your software: Keep your MacBook and third-party apps up to date to ensure you have the latest security features.
- Backup your files: Regularly backup your locked files to prevent data loss.
- Limit access:


