
Compare 2 Excel Files: A Comprehensive Guide
When it comes to managing and analyzing data, Excel is one of the most widely used tools. Whether you are a student, a professional, or a business owner, the ability to compare two Excel files can be incredibly valuable. In this article, we will delve into the various methods and tools available to you for comparing two Excel files, ensuring that you can make informed decisions based on the data at hand.
Understanding the Basics

Before we dive into the nitty-gritty of comparing Excel files, it’s important to understand the basics. An Excel file is a spreadsheet that allows you to organize, analyze, and visualize data. It consists of rows, columns, and cells, where each cell can contain text, numbers, or formulas.
When comparing two Excel files, you are essentially looking for differences between the data in the two files. This could be as simple as checking for discrepancies in numbers or as complex as identifying patterns and trends across multiple sheets.
Manual Comparison

One of the most straightforward methods for comparing two Excel files is to do it manually. This involves opening both files side by side and visually inspecting the data. While this method can be time-consuming, it allows you to catch any discrepancies that may not be immediately apparent with automated tools.
Here are some tips for manually comparing two Excel files:
-
Open both files in Excel and arrange them side by side on your screen.
-
Start by comparing the headers in each file to ensure that the data is organized in the same way.
-
Scan through the data in each file, looking for any discrepancies in numbers, text, or formatting.
-
Make notes of any differences you find and decide how to address them.
Using Excel’s Built-in Tools
Excel offers several built-in tools that can help you compare two files more efficiently. One of the most useful tools is the “Compare and Merge Workbooks” feature, which allows you to compare two files and merge the differences into a new workbook.
Here’s how to use the “Compare and Merge Workbooks” feature:
-
Open both Excel files that you want to compare.
-
Go to the “Data” tab in the ribbon and click on “Compare and Merge Workbooks” in the “Data Tools” group.
-
Select the first workbook from the list of open workbooks and click “OK” to open it.
-
Select the second workbook from the list of open workbooks and click “OK” to open it.
-
Select the sheets you want to compare and click “OK” to start the comparison process.
-
Excel will display a summary of the differences between the two files. Review the differences and decide how to merge them.
-
Click “Merge” to create a new workbook with the merged data.
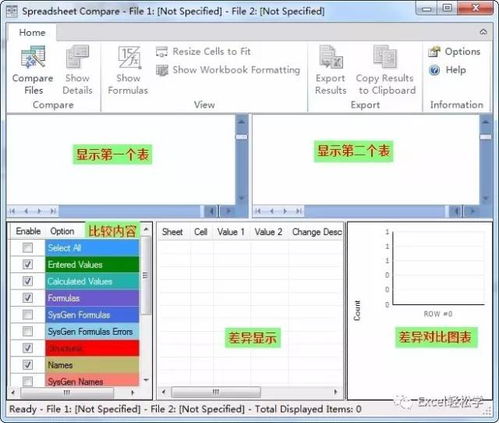
Using Third-Party Tools
While Excel’s built-in tools can be helpful, they may not always meet your specific needs. In such cases, you can turn to third-party tools that offer more advanced features for comparing Excel files.
Here are some popular third-party tools for comparing Excel files:
-
DiffExcel: This tool allows you to compare two Excel files and highlight the differences in a new workbook. It supports various comparison options, such as comparing formulas, formatting, and comments.
-
Excel Compare: This tool provides a user-friendly interface for comparing two Excel files. It allows you to compare individual cells, ranges, and entire sheets, and it can automatically merge the differences into a new workbook.
-
Compare Sheets: This tool is designed specifically for comparing Excel sheets. It allows you to compare multiple sheets at once and provides a detailed report of the differences.
Best Practices for Comparing Excel Files
When comparing two Excel files, it’s important to follow best practices to ensure that you get accurate and reliable results. Here are some tips to keep in mind:
-
Use consistent formatting: Ensure that the data in both files is formatted in the same


