
How to Delete Temporary Files on Windows 10
Temporary files are a common byproduct of using your computer, and they can accumulate over time, taking up valuable disk space and potentially affecting system performance. Deleting these files can help keep your Windows 10 system running smoothly. In this guide, I’ll walk you through various methods to delete temporary files on your Windows 10 machine.
Using the Disk Cleanup Tool

The Disk Cleanup tool is a built-in Windows utility that can help you remove unnecessary files from your system. Here’s how to use it:
- Press the Windows key and type “Disk Cleanup” in the search box.
- Click on the “Disk Cleanup” app that appears in the search results.
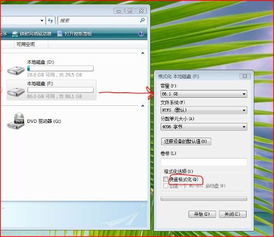
- Select the drive you want to clean up (usually your C: drive) and click “OK.”
- The tool will scan your drive for unnecessary files. Once the scan is complete, a list of files will be displayed.
- Check the boxes next to “Temporary files,” “System cache files,” and any other unnecessary files you want to delete.
- Click “OK” to confirm the deletion.
Using the Storage Sense Feature
Storage Sense is a feature in Windows 10 that automatically manages your storage by deleting unnecessary files. Here’s how to enable and use it:
- Press the Windows key and type “Storage Sense” in the search box.
- Click on the “Storage Sense” setting that appears in the search results.
- Toggle the “Turn on Storage Sense” switch to the “On” position.
- Under “Delete files that have been in the recycle bin for over 30 days,” select the number of days you want to keep files in the recycle bin.
- Under “Delete temporary files that are no longer needed,” toggle the switch to the “On” position.
- Under “Clean up system files,” click on “Clean up system files.” This will open the Disk Cleanup tool, where you can select additional files to delete.
Using PowerShell
PowerShell is a powerful command-line tool that can help you delete temporary files. Here’s how to do it:
- Press the Windows key and type “Windows PowerShell” in the search box.
- Right-click on the “Windows PowerShell” app that appears in the search results and select “Run as administrator.” You may need to enter an administrator password or click “Yes” to confirm.
- In the PowerShell window, type the following command and press Enter:
Get-ChildItem -Path $env:TEMP -Recurse | Remove-Item -Force- This command will delete all temporary files in the “Temp” folder and its subfolders.
Using Third-Party Cleaning Tools
There are many third-party cleaning tools available that can help you delete temporary files and other unnecessary files from your system. Some popular options include CCleaner, IObit Advanced SystemCare, and Glary Utilities. These tools often offer more advanced features and options compared to the built-in tools in Windows 10.
| Tool | Price | Features |
|---|---|---|
| CCleaner | Free (with optional Pro version) | Temporary file deletion, registry cleaner, startup manager, and more. |
| IObit Advanced SystemCare | Free (with optional Pro version) | Temporary file deletion, disk cleaner, system optimizer, and more. |
| Glary Utilities | Free (with optional Pro version) | Temporary file deletion, registry cleaner, startup manager, and more. |
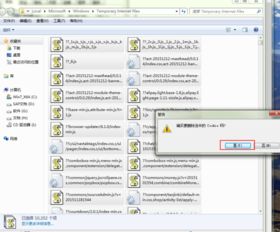
Manually Deleting Temporary Files
While using built-in tools or third-party cleaning tools is often the easiest way to delete temporary files, you can also manually delete them. Here’s how to do it:
- Press the Windows key and type “


