
Dask Config File: A Comprehensive Guide for GitHub Users
Managing configurations for large-scale data processing tasks can be a daunting task, especially when using Dask, a flexible parallel computing library. To streamline this process, Dask provides a configuration file that allows users to customize various aspects of the library. In this article, we will delve into the details of the Dask configuration file, focusing on its structure, syntax, and usage in GitHub repositories. By the end of this guide, you will be well-equipped to leverage the full potential of Dask’s configuration capabilities.
Understanding the Dask Configuration File

The Dask configuration file is a YAML file that specifies various settings for the Dask library. It is typically named `dask.yaml` and can be placed in the root directory of your GitHub repository. This file allows you to customize parameters such as the number of workers, memory limits, and task scheduling policies. Let’s explore some of the key components of the Dask configuration file.
| Component | Description |
|---|---|
| workers | Number of worker processes to use for parallel computation. |
| memory | Memory limit for each worker process in bytes. |
| scheduler | Task scheduler to use for managing tasks. |
| threads_per_worker | Number of threads per worker process. |
| client | Client configuration settings, such as the address and port. |
These are just a few examples of the many configuration options available in the Dask configuration file. By modifying these settings, you can optimize your Dask-based data processing tasks for better performance and resource utilization.
Creating and Editing the Dask Configuration File
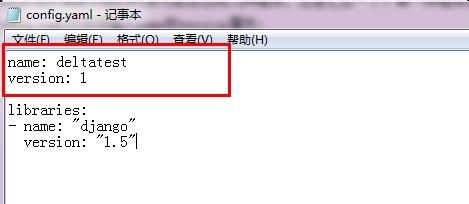
Creating a Dask configuration file is straightforward. Simply create a new file named `dask.yaml` in the root directory of your GitHub repository. You can then use a text editor or an integrated development environment (IDE) to edit the file. Here’s an example of a basic Dask configuration file:
workers: 4memory: 10GBscheduler: distributedthreads_per_worker: 2In this example, we have set the number of workers to 4, the memory limit to 10GB, the scheduler to distributed, and the number of threads per worker to 2. You can modify these values according to your specific requirements.
Using the Dask Configuration File in GitHub Repositories
Once you have created and edited your Dask configuration file, you can use it in your GitHub repository. To do this, follow these steps:
- Clone your GitHub repository to your local machine.
- Open the `dask.yaml` file in a text editor or IDE.
- Make the necessary changes to the configuration settings.
- Save the file and commit the changes to your repository.
- Push the updated configuration file to your GitHub repository.
By following these steps, you can ensure that your Dask configuration file is up-to-date and accessible to all collaborators working on your GitHub repository.
Best Practices for Managing Dask Configuration Files
Managing Dask configuration files in GitHub repositories requires careful attention to detail. Here are some best practices to help you maintain a well-organized and efficient configuration file:
- Keep your configuration file concise and easy to read.
- Document any changes you make to the configuration file.
- Review your configuration settings regularly to ensure they are still appropriate for your data processing tasks.
- Use version control to track changes to your configuration file.
By following these best practices, you can ensure that your Dask configuration file remains a valuable resource for your team and helps you achieve optimal performance for your data processing tasks.
Conclusion
Understanding and effectively utilizing the Dask configuration file is crucial for optimizing your data processing tasks with Dask. By customizing various settings in the configuration file, you can tailor the library to your specific needs and improve performance. In


