
How to Put a Password on an Excel File
Protecting your sensitive data is crucial, especially when sharing Excel files that contain confidential information. Adding a password to your Excel file is a straightforward process that can help ensure that only authorized individuals can access the data. In this guide, I’ll walk you through the steps to add a password to an Excel file on both Windows and Mac operating systems.
Step 1: Open Your Excel File

Before you can add a password to your Excel file, you need to have the file open. Simply double-click on the Excel file you wish to protect, and it will open in Excel.
Step 2: Navigate to File > Info
Once your Excel file is open, click on the “File” tab at the top left corner of the screen. From the dropdown menu, select “Info.” This will display information about your file, including the file name, author, and other details.
Step 3: Click on “Protect Workbook”
On the “Info” tab, you will see an option called “Protect Workbook.” Click on this option to open a dropdown menu with various protection options.
Step 4: Choose “Encrypt with Password”
From the dropdown menu, select “Encrypt with Password.” This will prompt you to enter a password for your Excel file.
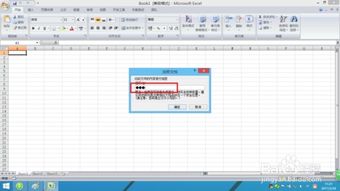
Step 5: Enter and Confirm Your Password
In the dialog box that appears, enter a strong password that you will remember. It’s important to choose a password that is not easily guessable and includes a combination of letters, numbers, and special characters. After entering your password, click “OK” to confirm it.
Excel will then ask you to re-enter the password to verify that you have entered it correctly. Type the password again and click “OK” to proceed.
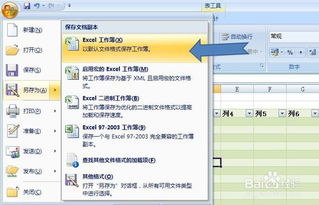
Step 6: Save Your File
After setting the password, it’s essential to save your file. Click on the “File” tab and select “Save As.” Choose a location to save your file, enter a file name, and click “Save.” The file will now be encrypted and protected with the password you set.
Step 7: Accessing the Password-Protected File
When you attempt to open the password-protected Excel file, you will be prompted to enter the password. Type the password you set earlier and click “OK” to access the file.
Step 8: Removing the Password (If Necessary)
Should you need to remove the password from your Excel file, follow these steps:
- Open the password-protected Excel file.
- Go to the “File” tab and select “Info.”
- Click on “Unprotect Workbook” and enter the password when prompted.
- Click “OK” to remove the password protection.
Remember that once you remove the password, anyone with access to the file can view its contents without needing the password.
Additional Tips
Here are some additional tips to keep in mind when adding a password to your Excel file:
- Use a strong password: A strong password should be at least 8 characters long and include a mix of uppercase and lowercase letters, numbers, and special characters.
- Save a copy without password: Before adding a password, it’s a good idea to save a copy of your file without the password. This way, if you forget the password, you’ll still have access to the original data.
- Use a password manager: If you have multiple password-protected files, consider using a password manager to keep track of your passwords.
By following these steps and tips, you can effectively add a password to your Excel file and protect your sensitive data from unauthorized access.


