
Restore Word File: A Comprehensive Guide
Have you ever found yourself in a situation where you need to restore a Word document that has been lost, corrupted, or accidentally deleted? Restoring a Word file can be a daunting task, but with the right knowledge and tools, it can be done efficiently. In this article, we will explore various methods to help you restore your Word file, ensuring that your valuable data is not lost forever.
Understanding the Importance of Backup

Before diving into the restoration process, it is crucial to understand the importance of backing up your Word documents. Regularly backing up your files can save you from the stress of data loss. Here are some reasons why backup is essential:
- Prevents permanent data loss
- Ensures quick recovery in case of accidental deletion or corruption
- Protects against hardware failures or system crashes
Now that you understand the significance of backup, let’s explore the different methods to restore your Word file.
Method 1: Using the “Undo” Command
One of the simplest and quickest ways to restore a Word file is by using the “Undo” command. If you have recently deleted or made changes to your document, this method can be quite effective.
- Open the Word document.
- Press “Ctrl + Z” on your keyboard to undo the last action.
- Repeat the process until your document is restored to the desired state.
Keep in mind that this method only works if you have not saved the document after making the changes you want to undo.
Method 2: Using the “Recover Unsaved Files” Feature

Microsoft Word has a built-in feature called “Recover Unsaved Files” that can help you restore a document that was not saved properly.
- Open Microsoft Word.
- Click on “File” in the top-left corner.
- Select “Open” and then “Recent” from the dropdown menu.
- Scroll through the list of recently opened files and look for the unsaved document.
- Click on the document to open it.
This method may not always work, especially if the document was not saved for a long time. However, it is worth a try before moving on to more advanced methods.
Method 3: Using the “File History” Feature
Windows 10 users can take advantage of the “File History” feature to restore their Word documents. This feature automatically saves copies of your files at regular intervals.
- Open File Explorer.
- Click on the “View” tab at the top of the window.
- Check the “File History” option to enable the feature.
- Open the folder where your Word document was stored.
- Right-click on the document and select “Restore previous versions” from the dropdown menu.
- Select the desired version of the document and click “Restore” to save it to your computer.
This method can be quite effective, but it requires that you have enabled the “File History” feature and have been regularly backing up your files.
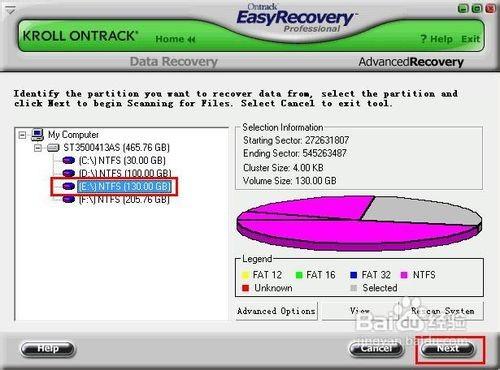
Method 4: Using a Third-Party Data Recovery Tool
If the above methods do not work, you can try using a third-party data recovery tool. These tools are designed to recover lost, deleted, or corrupted files from various storage devices, including your computer’s hard drive.
Here are some popular data recovery tools:
| Tool | Description |
|---|---|
| Recuva | Free and easy-to-use data recovery tool for Windows and macOS. |
| EaseUS Data Recovery Wizard | Comprehensive data recovery tool with a user-friendly interface. |
| Stellar Data Recovery | Powerful data recovery tool with advanced features for Windows and macOS. |
When using a third-party data recovery tool, follow these steps:
- Download and install


