
Affinity Photo 1: Downloading the Affinity.msi File
Are you looking to download the Affinity Photo 1 affinity.msi file? If so, you’ve come to the right place. In this detailed guide, I’ll walk you through the process of downloading, installing, and getting the most out of Affinity Photo 1. Whether you’re a seasoned photographer or just starting out, this software is a game-changer for image editing. Let’s dive in!
Where to Find the Affinity.msi File

Before you can download the Affinity Photo 1 affinity.msi file, you need to know where to look. The official Affinity website is the best place to start. Here’s how you can find and download the file:
- Visit the Affinity website at https://www.affinity.com/en/photo.
- Scroll down to the “Download” section.
- Click on the “Affinity Photo 1” link.
- Select the “Windows” option.
- Choose the “affinity.msi” file and click “Download.”
Make sure you have enough storage space on your computer, as the file can be quite large. Once the download is complete, you can proceed with the installation.
System Requirements

Before installing Affinity Photo 1, it’s essential to ensure that your computer meets the minimum system requirements. Here’s what you’ll need:
| Component | Minimum Requirement |
|---|---|
| Operating System | Windows 7 SP1 or later |
| Processor | 2 GHz dual-core or faster |
| RAM | 4 GB |
| Graphics Card | DirectX 10 compatible |
| Storage | 2 GB of free space |
Keep in mind that these are the minimum requirements. For optimal performance, consider upgrading your hardware to meet the recommended specifications.
Installing the Affinity.msi File
Now that you’ve downloaded the Affinity Photo 1 affinity.msi file, it’s time to install it. Follow these steps:
- Double-click the affinity.msi file to start the installation process.
- Follow the on-screen instructions to proceed with the installation.
- Choose the installation location if prompted.
- Select the components you want to install (e.g., Affinity Photo, Affinity Photo Help, etc.).
- Click “Next” to continue.
- Agree to the terms and conditions if necessary.
- Click “Install” to begin the installation process.
- Wait for the installation to complete.
- Click “Finish” to complete the installation.
Once the installation is complete, you can launch Affinity Photo 1 and start editing your images.
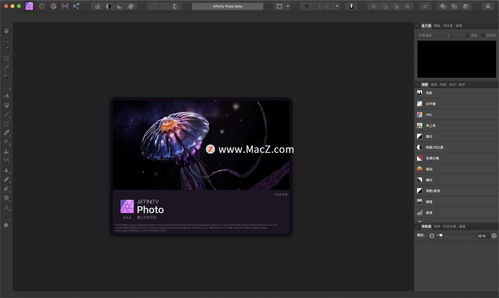
Getting Started with Affinity Photo 1
Now that you have Affinity Photo 1 installed, it’s time to get started. Here are some tips to help you get the most out of this powerful image editing software:
- Explore the Interface: Familiarize yourself with the Affinity Photo 1 interface. Spend some time navigating through the menus and toolbars to get a feel for the layout.
- Learn the Basics: Take some time to learn the basic editing tools and techniques. Affinity Photo 1 offers a wide range of features, so it’s essential to understand the fundamentals before diving into more advanced techniques.
- Experiment with Filters and Effects: Affinity Photo 1 provides a variety of filters and effects to enhance your images. Experiment with different options to see what works best for your specific needs.
- Use Layers: Layers are a powerful feature


