
Reduce Image File Size: A Comprehensive Guide
Images are an integral part of our digital lives, whether it’s for personal use, professional projects, or online content. However, large image files can be a hassle, taking up valuable storage space and slowing down website loading times. In this article, we’ll explore various methods to reduce image file size effectively, ensuring your images are optimized without compromising quality.
Understanding Image File Size

Before diving into the techniques, it’s essential to understand what contributes to an image’s file size. An image file size is determined by its dimensions, resolution, and the format it’s saved in. Here’s a brief overview of these factors:
| Factor | Description |
|---|---|
| Dimensions | Width and height of the image in pixels. |
| Resolution | Number of pixels per inch (PPI) or dots per inch (DPI). Higher resolution results in larger file sizes. |
| Format | File format, such as JPEG, PNG, or GIF, affects the compression and file size. |
Now that we have a basic understanding of the factors influencing image file size, let’s explore the various methods to reduce it.
1. Resize the Image
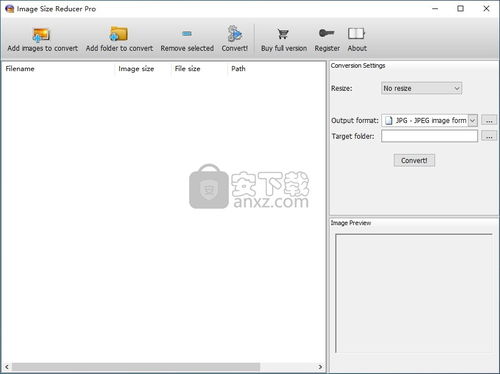
One of the most straightforward ways to reduce image file size is by resizing it. This involves changing the dimensions of the image while maintaining its aspect ratio. Here’s how to resize an image using different tools:
- Adobe Photoshop: Open the image in Photoshop, go to Image > Image Size, and adjust the width and height values. Ensure the “Resample Image” option is checked and choose an appropriate resampling algorithm, such as Bicubic Sharper (for photographs) or Bicubic (for graphics).
- Online Image Resizers: There are numerous online tools available, such as TinyPNG, ImageOptim, and Compressor.io. Upload your image, select the desired dimensions, and download the resized file.
- Microsoft Paint: Open the image in Paint, click on “Resize,” and adjust the width and height values. Save the image in a compressed format, such as JPEG or PNG.
Resizing the image can significantly reduce its file size, especially if the original dimensions are much larger than needed.
2. Compress the Image
Compressing an image reduces its file size by removing unnecessary data. This method is particularly useful for JPEG and PNG files. Here are some compression techniques:
- Adjust Quality in JPEG: Open the image in an image editor, go to File > Save As, and choose JPEG as the file format. Adjust the quality slider to reduce the file size. A quality setting of 60-80% is often sufficient for web use.
- Use PNG Compression Tools: PNG files can be compressed using tools like OptiPNG or PNG Crush. These tools remove metadata and unnecessary color information, reducing the file size without visible quality loss.
- Online Compression Tools: Websites like TinyPNG and ImageOptim offer online compression services that can significantly reduce the file size of your images.
Compressing your images can help save storage space and improve website performance.
3. Convert to a Smaller Format
Converting your images to a smaller format can also reduce their file size. Here are some popular formats and their advantages:
- JPEG: Widely used for photographs due to its efficient compression. However, it’s a lossy format, meaning some quality is lost during compression.
- PNG: A lossless format suitable for graphics with transparency. It offers better quality than JPEG but results in larger file sizes.
- GIF: Ideal for simple graphics and animations. It’s a lossless format but has limited color support.
- WebP: A modern format developed by Google, offering superior compression and quality compared to JPEG and PNG. However, not all browsers support it yet.
Converting your


