
Linking Files to Google Earth: A Comprehensive Guide
Are you looking to enhance your Google Earth experience by linking files directly to specific locations? If so, you’ve come to the right place. In this detailed guide, I’ll walk you through the process of linking files to Google Earth, covering various aspects to ensure you get the most out of this powerful tool.
Understanding the Basics

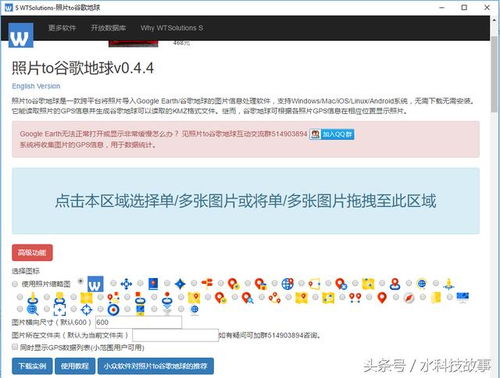
Before diving into the specifics, it’s essential to understand the basics of linking files to Google Earth. This process involves creating a KML (Keyhole Markup Language) file, which is a file format used to display geographic data in Google Earth. By creating a KML file, you can link any type of file, such as images, documents, or videos, to a specific location on the map.
Creating a KML File
Creating a KML file is relatively straightforward. You can use various tools, such as Google Earth itself, to create and edit KML files. Here’s a step-by-step guide to creating a KML file using Google Earth:
- Open Google Earth and navigate to the location where you want to link the file.
- Click on the “File” menu and select “Save Place As.” Choose “KML” as the file format.
- Name your KML file and save it to your desired location.
- Open the KML file in a text editor (such as Notepad or Microsoft Word) to add the file link.
Now, let’s take a closer look at how to add a file link to your KML file.
Adding a File Link to Your KML File
Once you have your KML file open in a text editor, you’ll need to add the file link. Here’s how to do it:
- Locate the following line in your KML file:
<Placemark> - Below this line, add the following code:
<Link><href>[URL of your file]</href></Link> - Replace “[URL of your file]” with the actual URL of the file you want to link. This can be a file stored on your computer, a file hosted online, or a URL to a web page.
- Save your KML file.
Now, when you open the KML file in Google Earth, you’ll see a link to your file at the specified location.
Customizing Your KML File
Once you have the basic file link in place, you can customize your KML file further. Here are some additional features you can add:
- Icon: You can change the icon that represents your location by adding the following code:
<IconStyle><Icon><href>[URL of your icon]</href></Icon></IconStyle> - Label: Add a label to your location by adding the following code:
<Label><text>[Your label text]</text></Label> - Pop-up: Create a pop-up window with additional information by adding the following code:
<Description><![CDATA[Your description here]]</Description>
These are just a few examples of the many customization options available for KML files.
Sharing Your KML File
Once you’re satisfied with your KML file, you can share it with others. Here are a few ways to share your KML file:
- Google Earth: You can share your KML file directly from Google Earth by clicking on the “File” menu and selecting “Save Place As.” Choose “KML” as the file format and then share the file with others via email or cloud storage services.
- Online: Upload your KML file to a website or cloud storage service and share the link with others.
- Google Maps: You can also share your KML file on Google Maps by creating a custom map and adding your KML file as a layer.
By


