
Using PowerShell to Find a String in a File and Retrieve Line Numbers
Are you looking for a way to efficiently search for a specific string within a file and obtain the line numbers where it appears? PowerShell, a powerful scripting language from Microsoft, offers a straightforward method to accomplish this task. In this article, I will guide you through the process of using PowerShell to find a string in a file and return the line numbers. Let’s dive in!
Understanding the Command

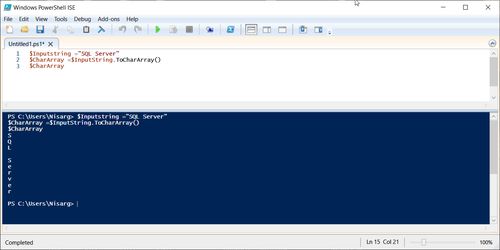
The command you will be using is called “Select-String.” It is a cmdlet in PowerShell that allows you to search for text within files. To find a string and return the line numbers, you will need to use the “-LineNumbers” parameter.
Setting Up the Environment
Before you begin, make sure you have PowerShell installed on your computer. You can check this by opening PowerShell and typing “Get-Host.” If PowerShell is installed, you will see the version information. If not, you can download and install it from the official Microsoft website.
Locating the File
First, you need to know the path to the file you want to search. You can either provide the full path to the file or use relative paths. For example, if the file is located in the “Documents” folder, you can use “C:UsersYourUsernameDocumentsfile.txt” as the path.
Executing the Command
Now that you have the file path, you can use the “Select-String” cmdlet to search for the string and retrieve the line numbers. Here’s an example command:
Get-Content "C:UsersYourUsernameDocumentsfile.txt" | Select-String -Pattern "your_string" -LineNumbersIn this example, “your_string” is the string you want to search for. Replace it with the actual string you are looking for. The “-Pattern” parameter specifies the pattern to search for, and the “-LineNumbers” parameter returns the line numbers where the pattern is found.
Interpreting the Results
The output of the command will be a list of lines that contain the specified string, along with their corresponding line numbers. Here’s an example output:
Line 1: This is the first line of the file.Line 2: This line contains the string we are looking for.Line 4: The string appears again in this line.In this output, you can see that the string “your_string” appears in lines 2 and 4 of the file.
Modifying the Search
The “Select-String” cmdlet offers various parameters to modify the search. For example, you can use the “-CaseSensitive” parameter to perform a case-sensitive search, or the “-AllMatches” parameter to return all matches in a line, not just the first occurrence.
| Parameter | Description |
|---|---|
| -CaseSensitive | Performs a case-sensitive search. |
| -AllMatches | Retrieves all matches in a line, not just the first occurrence. |
| -Context | Displays the context around the matched line. |
Conclusion
Using PowerShell to find a string in a file and retrieve line numbers is a simple and efficient process. By utilizing the “Select-String” cmdlet and its parameters, you can easily search for text within files and obtain the line numbers where it appears. This can be particularly useful for developers, administrators, and anyone who needs to analyze large amounts of text.


