
Understanding the Hosts File in Windows: A Detailed Guide for You
Are you tired of being redirected to unwanted websites or experiencing slow internet connections? Do you want to have better control over your network traffic? If so, you might want to learn more about the hosts file in Windows. This file is a crucial component of your operating system that can significantly impact your online experience. In this article, I will provide you with a comprehensive guide to the hosts file in Windows, covering its purpose, how to edit it, and its potential uses.
What is the Hosts File?

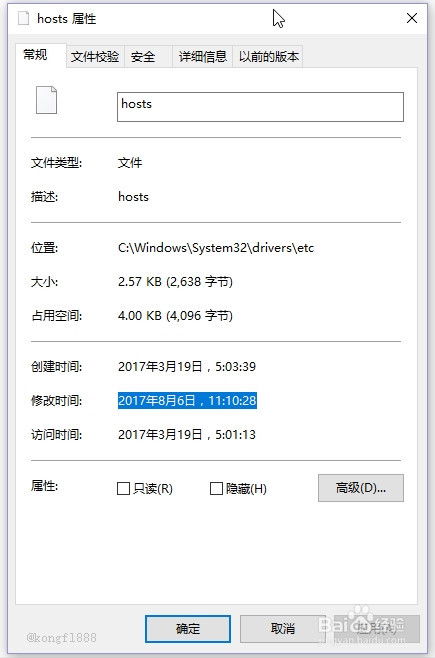
The hosts file is a simple text file that maps hostnames to IP addresses. It is located in the system32/drivers/etc directory on Windows systems. When you type a website’s name into your web browser, the browser checks the hosts file to see if it can find the corresponding IP address. If it does, the browser will use that IP address to connect to the website. If not, it will query the DNS server to resolve the hostname to an IP address.
Here’s an example of what a typical hosts file might look like:
127.0.0.1 localhost::1 localhost127.0.0.1 localhost.localdomain
In this example, the first line maps the hostname “localhost” to the IP address “127.0.0.1.” This means that when you type “localhost” into your browser, it will connect to the local machine.
How to Edit the Hosts File in Windows
Editing the hosts file is a straightforward process, but you need to be cautious while doing so. Incorrectly modifying the hosts file can cause your computer to become inaccessible or experience other issues. Here’s how to edit the hosts file in Windows:
- Open File Explorer and navigate to the system32/drivers/etc directory.
- Right-click on the hosts file and select “Open with.” Choose a text editor from the list of available programs. If your preferred text editor is not listed, click “Choose another app” and select it from there.
- Make the necessary changes to the hosts file. Remember to save your changes before closing the text editor.
- Restart your computer for the changes to take effect.
Using the Hosts File to Block Websites
One of the most common uses of the hosts file is to block unwanted websites. By mapping a website’s hostname to an invalid IP address, you can prevent your computer from accessing that website. Here’s how to block a website using the hosts file:
- Open the hosts file in a text editor.
- At the end of the file, add a new line with the following format: “0.0.0.0 website.com” (replace “website.com” with the hostname of the website you want to block).
- Save the file and restart your computer.
This will prevent your computer from accessing the website by redirecting it to an invalid IP address.
Using the Hosts File to Redirect Websites
In addition to blocking websites, you can also use the hosts file to redirect websites to different IP addresses. This can be useful for testing purposes or if you want to access a website that is currently down. Here’s how to redirect a website using the hosts file:
- Open the hosts file in a text editor.
- At the end of the file, add a new line with the following format: “new_ip_address website.com” (replace “new_ip_address” with the IP address you want to redirect the website to, and “website.com” with the hostname of the website you want to redirect).
- Save the file and restart your computer.
This will cause your computer to connect to the new IP address when you visit the specified website.
Using the Hosts File for Development and Testing
The hosts file is a valuable tool for web developers and testers. By mapping local development servers to specific hostnames, you can easily access them without having to remember the IP address. Here’s an example of how to use the hosts file for development:
- Open the hosts file in a text editor.
- At the end of the file, add a new line with the following format: “localhost your_local_server” (replace “your_local_server” with the hostname you want to use for your local development server).
- Save


