
Reduce File Size of My Photo: A Comprehensive Guide
Photos are an integral part of our digital lives, capturing memories and moments that we cherish. However, with the increasing number of photos we take, the storage space on our devices can quickly become overwhelmed. This is where reducing the file size of your photos becomes crucial. In this article, I will provide you with a detailed guide on how to reduce the file size of your photos effectively and efficiently.
Understanding File Size and Compression

Before diving into the methods to reduce file size, it’s essential to understand the concept of file size and compression. File size refers to the amount of space a photo occupies on your device. It is determined by factors such as the resolution, format, and compression algorithm used. Compression is the process of reducing the file size by removing unnecessary data without significantly affecting the quality of the image.
There are two types of compression: lossless and lossy. Lossless compression reduces file size without losing any data, while lossy compression removes some data to achieve a smaller file size. Lossy compression is commonly used for photos as it allows for a significant reduction in file size while maintaining acceptable quality.
Method 1: Resize Your Photo
One of the most straightforward ways to reduce the file size of your photo is by resizing it. Resizing involves changing the dimensions of the photo, which directly impacts its file size. Here’s how you can resize your photo:
- Open the photo in an image editing software or online photo editor.
- Locate the resize or image size option. This may be found under the “Image” or “Edit” menu.
- Enter the desired dimensions for your photo. Keep in mind that reducing the dimensions too much may result in a loss of quality.
- Save the resized photo in a compressed format such as JPEG or PNG.
Method 2: Use Compression Tools
There are various compression tools available that can help you reduce the file size of your photos. These tools use advanced algorithms to compress the image without significantly affecting its quality. Here are some popular compression tools:
| Tool | Description | Website |
|---|---|---|
| ImageOptim | Optimizes images by removing unnecessary metadata and compressing them. | https://imageoptim.com/ |
| TinyPNG | Compresses PNG and JPEG images using lossy compression. | https://tinypng.com/ |
| Optimizilla | Optimizes JPEG and PNG images by adjusting compression settings. | https://www.optimizilla.com/ |
Method 3: Adjust Compression Settings
Many image editing software and online photo editors allow you to adjust the compression settings manually. By adjusting the compression level, you can control the balance between file size and image quality. Here’s how you can adjust compression settings:
- Open the photo in an image editing software or online photo editor.
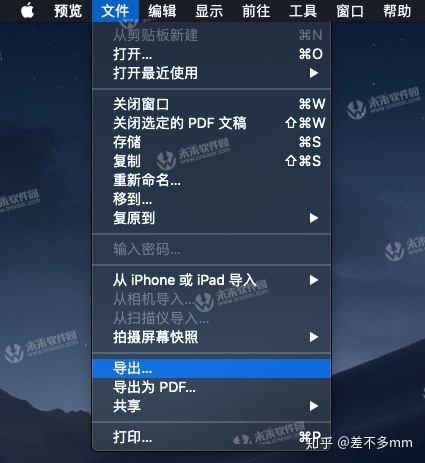
- Locate the compression or save options. This may be found under the “File” or “Export” menu.
- Select the desired compression format, such as JPEG or PNG.
- Adjust the compression level using the slider or dropdown menu. A lower compression level will result in a smaller file size but may affect image quality.
- Save the compressed photo.
Method 4: Use Cloud Storage Services
Cloud storage services like Google Drive, Dropbox, and OneDrive offer built-in photo compression features. These services automatically compress your photos when you upload them to the cloud, reducing their file size without requiring any manual intervention. Here’s how you can use cloud storage services to compress your photos:


