
Uploading Files via URL with FlutterFlow: A Detailed Guide for You
Are you looking to streamline your file upload process using FlutterFlow? If so, you’ve come to the right place. In this comprehensive guide, I’ll walk you through the ins and outs of uploading files via URL with FlutterFlow. Whether you’re a beginner or an experienced developer, this guide will provide you with the knowledge and tools you need to successfully upload files using this powerful platform.
Understanding FlutterFlow

Before diving into the specifics of uploading files via URL, it’s important to have a basic understanding of FlutterFlow. FlutterFlow is a low-code platform that allows developers to build mobile and web applications quickly and efficiently. It uses a visual editor, making it accessible to those without extensive coding experience.
Setting Up Your FlutterFlow Project
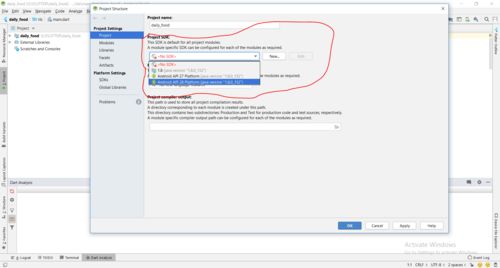
Before you can start uploading files, you’ll need to set up a FlutterFlow project. Here’s a step-by-step guide to get you started:
- Go to FlutterFlow’s website and sign up for an account.
- Once logged in, click on “Create Project” and choose the type of project you want to create (e.g., iOS, Android, Web).
- Follow the prompts to set up your project, including choosing a project name and configuring your database.
- After your project is set up, download the FlutterFlow CLI and install it on your computer.
- Open your terminal or command prompt and navigate to your project directory.
- Run the command
flutterflow loginto log in to your FlutterFlow account. - Finally, run the command
flutterflow serveto start your project’s development server.
Creating a File Upload Form
Now that your FlutterFlow project is set up, it’s time to create a file upload form. Here’s how you can do it:
- In the FlutterFlow editor, click on the “+” button to add a new element to your form.
- Select “File Upload” from the list of elements.
- Configure the file upload element by setting the allowed file types, maximum file size, and other options.
- Drag and drop the file upload element onto your form where you want it to appear.
- Customize the appearance of the file upload element using the editor’s styling options.
Handling File Uploads
Once your file upload form is set up, you’ll need to handle the uploaded files. Here’s how you can do it:
- In the FlutterFlow editor, click on the file upload element to open its properties.
- Under the “On Change” event, click on the “+” button to add a new action.
- Select “Upload File” from the list of actions.
- Configure the upload action by specifying the file storage bucket and other options.
- Save your changes and test the file upload functionality.
Storing Files in a Database
After uploading a file, you may want to store it in a database for future reference. Here’s how you can do it:
- In the FlutterFlow editor, click on the file upload element to open its properties.
- Under the “On Change” event, click on the “+” button to add a new action.
- Select “Create Record” from the list of actions.
- Configure the create record action by specifying the database collection and fields to store the file information.
- Save your changes and test the file storage functionality.
Accessing Files from the Database
Once files are stored in the database, you can easily access them for display or download. Here’s how you can do it:
- In the FlutterFlow editor, click on the database collection where the files are stored.
- Under the “On Query” event, click on the “+” button to add a new action.
- Select “Fetch Records” from the


