
Unlocking TypeScript’s Full Potential: Adding File Extensions in VS Code with ESM Modules
Are you a TypeScript developer looking to enhance your workflow with ESM (ECMAScript Modules) support? If so, you’re in for a treat. In this comprehensive guide, I’ll walk you through the process of adding file extensions in VS Code to fully leverage ESM modules. Let’s dive in!
Understanding ESM Modules

Before we jump into the specifics of adding file extensions in VS Code, it’s crucial to understand what ESM modules are and why they matter. ESM is a standard for JavaScript modules that allows for better organization, reusability, and performance of your code.
With ESM, you can import and export modules using the `import` and `export` statements. This modular approach makes your code more maintainable and easier to understand. Now, let’s see how you can enable this feature in VS Code.
Setting Up Your TypeScript Project
Before you can add file extensions in VS Code, you need to have a TypeScript project set up. If you haven’t already, create a new directory for your project and initialize it with npm or yarn:
mkdir my-typescript-projectcd my-typescript-projectnpm init -yNext, install TypeScript and the TypeScript Node package:
npm install typescript @types/node --save-devNow, create a `tsconfig.json` file in your project root to configure TypeScript:
{ "compilerOptions": { "target": "es6", "module": "commonjs", "strict": true, "esModuleInterop": true }}This configuration sets the target to ES6, enables ESM module support, and enables `esModuleInterop` for better compatibility with CommonJS modules.
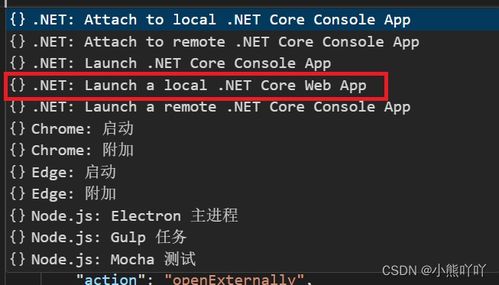
Adding File Extensions in VS Code
Now that your TypeScript project is set up, let’s move on to adding file extensions in VS Code. This step is essential for enabling ESM module support.
1. Open VS Code and navigate to your project directory.
2. Go to the “File” menu and select “Preferences” > “Settings” (or press `Ctrl + ,` on Windows/Linux or `Cmd + ,` on macOS).
3. In the search bar, type “File extensions” and find the “Files: Automatically Add File Extensions” setting.
4. Toggle the switch to “On” to enable automatic file extension addition.
5. Save your settings and close the settings window.
With this setting enabled, VS Code will automatically add the `.ts` extension to TypeScript files and the `.js` extension to JavaScript files. This ensures that your ESM modules are recognized and processed correctly.
Using ESM Modules in Your Project
Now that you’ve added file extensions in VS Code, you can start using ESM modules in your project. Here’s an example of how to import and export modules using ESM syntax:
// my-module.tsexport function greet(name) { return `Hello, ${name}!`;}// main.tsimport { greet } from './my-module';console.log(greet('World'));In this example, we create a module named `my-module.ts` that exports a `greet` function. In the `main.ts` file, we import the `greet` function and use it to log a greeting message to the console.
Conclusion
Adding file extensions in VS Code with ESM modules is a straightforward process that can significantly enhance your TypeScript development experience. By following the steps outlined in this guide, you can take advantage of ESM’s modular approach and improve the maintainability and performance of your code.
Remember to keep your `tsconfig.json` file updated with the appropriate settings for ESM support, and don’t forget to enable automatic file extension addition in VS Code. Happy coding!


