
Wget Creating .1 File: A Comprehensive Guide
Have you ever wondered how to create a .1 file using wget? If so, you’ve come to the right place. In this detailed guide, I’ll walk you through the process step by step, ensuring you have a thorough understanding of how to achieve this task. Whether you’re a beginner or an experienced user, this guide will provide you with the necessary information to create a .1 file using wget.
Understanding .1 Files

A .1 file is a type of file extension that is commonly used in various contexts. It can represent a version number, a log file, or even a configuration file, depending on the application. In the case of wget, a .1 file is typically used to store the output of a download operation.
Before diving into the process of creating a .1 file using wget, it’s important to understand the basic structure of a wget command. The general syntax is as follows:
wget [options] [URL]
Here, [options] refers to any additional parameters you may want to include, and [URL] is the address of the file or webpage you want to download.
Creating a .1 File with Wget
Now that you have a basic understanding of .1 files and the wget command structure, let’s move on to the process of creating a .1 file using wget.
Step 1: Install Wget
Before you can create a .1 file using wget, you need to ensure that the program is installed on your system. Wget is available for most operating systems, including Linux, macOS, and Windows. To install wget, follow these steps:
- For Linux and macOS, open a terminal and run the following command:
-
sudo apt-get install wget
- For Windows, download the wget installer from the official website and follow the installation instructions.
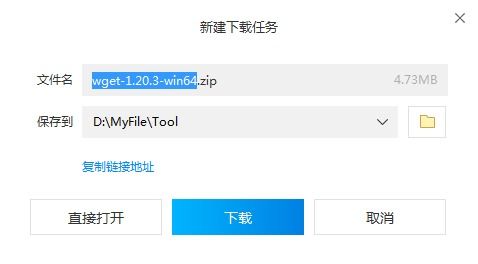
Step 2: Download the File
Once wget is installed, you can proceed to download the file you want to create a .1 file for. Replace [URL] in the general syntax with the actual URL of the file or webpage. For example:
wget http://example.com/file.zip
This command will download the file from the specified URL and save it in the current directory with the same name as the file on the server.
Step 3: Rename the File
After downloading the file, you can rename it to have a .1 extension. To do this, use the following command:
mv file.zip file.1
This command will rename the downloaded file to file.1, which is the desired .1 file format.
Additional Options
Wget offers a variety of options that can be used to customize the download process. Here are some commonly used options:
| Option | Description |
|---|---|
| -O | Specify the output file name |
| -P | Specify the directory to save the file |
| -q | Quiet mode, suppresses progress output |
| -t | Number of retries on failure |
For example, to download a file and save it with a specific name, you can use the following command:
wget -O file.1 http://example.com/file.zip
This command will download the file from the specified URL and save it as file.1 in the current directory.
Conclusion
Creating a .1 file using wget is a straightforward process that involves downloading a file and renaming it. By following the steps outlined in this guide, you should now have a clear understanding of how to create a .1 file using wget. Whether you’re a beginner or an experienced user, this guide should help you achieve your goal.


