
Portrait Raw Image Files: A Comprehensive Guide
Portrait photography has always been a favorite among enthusiasts and professionals alike. The beauty of capturing a person’s essence lies in the details, and raw image files offer an unparalleled level of control and flexibility. In this article, we will delve into the world of portrait raw image files, exploring their significance, benefits, and how to work with them effectively.
Understanding Raw Image Files

Raw image files are the unprocessed, uncompressed versions of digital photographs. Unlike JPEGs, which are compressed and have limited editing capabilities, raw files contain all the data captured by the camera’s sensor. This data includes exposure, color, and tonal information, allowing for extensive editing and manipulation.
When you take a photo, your camera’s sensor records the light entering through the lens. The raw file is essentially the raw data from this sensor, which is then processed by the camera’s internal software to create a JPEG or other compressed format. By working with raw files, you bypass this initial processing and gain access to the full potential of your camera’s sensor.
Benefits of Using Raw Image Files
There are several advantages to using raw image files for portrait photography:
| Benefit | Description |
|---|---|
| Exposure Control | Raw files provide greater flexibility in adjusting exposure, allowing you to recover details in both the highlights and shadows. |
| Color Correction | Raw files offer more accurate color representation, making it easier to achieve the desired color tones and saturation. |
| White Balance Adjustment | Raw files allow for precise white balance adjustments, ensuring accurate color rendition in different lighting conditions. |
| Non-Destructive Editing | Editing raw files is non-destructive, meaning you can make changes without altering the original data. This allows for experimentation and flexibility in post-processing. |
These benefits make raw image files an invaluable tool for portrait photographers, enabling them to achieve the desired results and push the boundaries of their creative vision.
How to Work with Raw Image Files
Working with raw image files requires a few additional steps compared to JPEGs. Here’s a general workflow to help you get started:
-
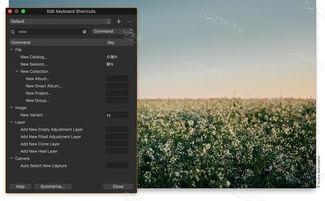
Import Raw Files: Use a photo editing software that supports raw files, such as Adobe Lightroom or Capture One, to import your raw images.
-
Basic Adjustments: Apply basic adjustments like exposure, contrast, and highlights/shadows to enhance the overall image. These adjustments are non-destructive and can be easily modified later.
-
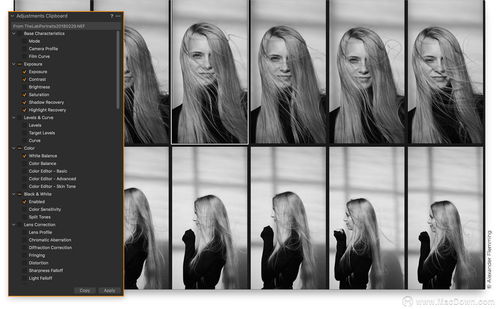
Color Correction: Adjust the white balance, color temperature, and saturation to achieve the desired color tones and saturation.
-
Detail Enhancement: Use tools like sharpening and noise reduction to enhance the details and clarity of the image.
-
Final Touches: Apply any additional adjustments, such as cropping, dodging, and burning, to refine the portrait further.
-
Export: Once you are satisfied with the image, export it in the desired format, such as JPEG or TIFF, for printing or sharing.
It’s important to note that working with raw files requires a bit more time and effort compared to JPEGs. However, the benefits and creative control they offer make the process worthwhile.
Common Challenges and Solutions
While working with raw image files offers numerous advantages, there are also some challenges to consider:
-
File Size: Raw files are significantly larger than JPEGs, requiring more storage space and processing power.
-
Complexity: Editing raw files can be more complex and time-consuming, especially for beginners.
-
Software Compatibility: Not all software supports raw files, so it’s important to choose a compatible editing program.
Here are some solutions to these challenges:


