
How to Start Excel Files on SQL Plus
Starting Excel files on SQL Plus can be a game-changer for anyone looking to analyze and visualize data stored in SQL databases. By combining the power of SQL with Excel, you can streamline your data processing and analysis. In this detailed guide, I’ll walk you through the process step by step, ensuring you have a seamless experience.
Understanding SQL Plus and Excel

SQL Plus is a command-line tool that allows you to interact with an Oracle database. It provides a way to execute SQL statements, manage database objects, and perform various administrative tasks. On the other hand, Excel is a spreadsheet program that is widely used for data analysis, visualization, and reporting. By integrating these two tools, you can leverage the strengths of both to enhance your data processing capabilities.
Setting Up Your Environment
Before you start, make sure you have the following prerequisites in place:
- Oracle Database installed and running
- SQL Plus installed and configured
- Microsoft Excel installed
Once you have these prerequisites, you can proceed to the next step.
Connecting to the Database
Open SQL Plus and log in to your database. You can do this by entering the following command:
sqlplus username/password@database_nameReplace “username,” “password,” and “database_name” with your actual database credentials. Once you are logged in, you will see a prompt that indicates you are connected to the database.
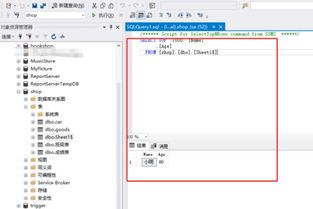
Executing SQL Queries
Now that you are connected to the database, you can start executing SQL queries. To retrieve data from a table, use the following syntax:
SELECT column1, column2 FROM table_name;For example, if you want to retrieve the “name” and “age” columns from the “employees” table, you would enter:
SELECT name, age FROM employees;After executing the query, the results will be displayed in the SQL Plus window.
Exporting Data to Excel
Once you have retrieved the data you need, you can export it to Excel. To do this, follow these steps:
- Copy the data from the SQL Plus window.
- Open a new Excel workbook.
- Paste the data into the first cell of the worksheet.
- Adjust the column widths and formatting as needed.
Now you have successfully exported the data from SQL Plus to Excel.
Using Excel Functions and Formulas
With the data in Excel, you can now apply various functions and formulas to perform calculations, analyze trends, and visualize the data. Some commonly used functions include:
- Sum: =SUM(range)
- Average: =AVERAGE(range)
- Count: =COUNT(range)
- Max: =MAX(range)
- Min: =MIN(range)
These functions can be used to calculate various metrics and gain insights from your data.
Creating Visualizations
Excel provides a wide range of chart types and visualization options to help you present your data effectively. To create a chart, follow these steps:
- Select the data you want to visualize.
- Go to the “Insert” tab in the Excel ribbon.
- Choose the chart type you want to use.
- Customize the chart as needed, including adding titles, labels, and formatting.
This will help you create visually appealing and informative charts that can be easily shared with others.
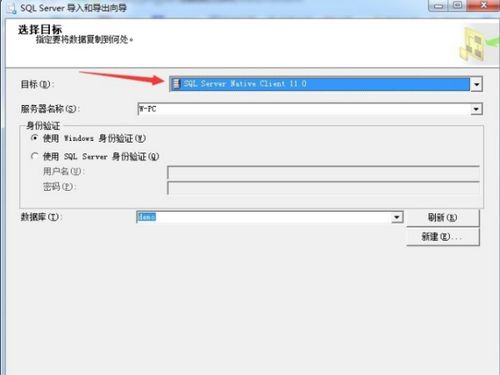
Importing Data Back to SQL Plus
At times, you may need to import data from Excel back to SQL Plus. To do this, follow these steps:
- Open the Excel workbook containing the data you want to import.
- Copy the data from the worksheet.
- Open SQL Plus and navigate to the table where you want to import the data.
- Paste the data into the SQL Plus window.
- Execute the SQL statement to import the data.
This will help you keep your


