
3D Print STL Files: A Comprehensive Guide for Beginners and Experts
Are you intrigued by the world of 3D printing and looking to delve into the realm of STL files? You’ve come to the right place. STL files are the backbone of 3D printing, serving as the digital blueprint for your creations. In this detailed guide, we’ll explore everything you need to know about STL files, from their basics to advanced techniques. Let’s dive in!
Understanding STL Files

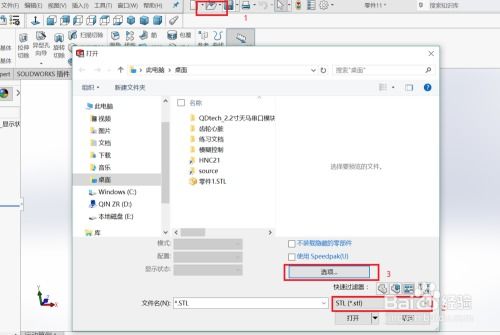
STL stands for Stereolithography File, a file format used to represent the surface geometry of a 3D object. It’s one of the most widely used file formats in the 3D printing industry due to its simplicity and compatibility with various 3D printing software. An STL file consists of a series of triangles that define the surface of the object.
Here’s a breakdown of the key components of an STL file:
| Component | Description |
|---|---|
| Vertex | Coordinates of a point in 3D space |
| Face | Triangle that defines the surface of the object |
| Edge | Line segment connecting two vertices |
| Normal | Vector perpendicular to the surface of the triangle |
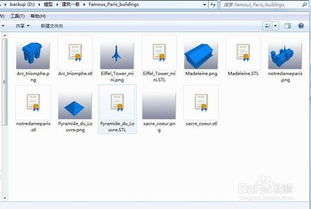
STL files are typically saved with the .stl file extension and can be opened and edited using various 3D modeling and slicing software.
Creating STL Files
Creating an STL file involves several steps, depending on whether you’re starting from scratch or modifying an existing model. Here’s a general overview of the process:
-
Design your 3D model using a 3D modeling software like Blender, SolidWorks, or AutoCAD.
-
Export the model as an STL file. Most 3D modeling software offers this option in the export menu.
-
Check the STL file for errors using a 3D modeling or slicing software. Common errors include non-manifold edges, duplicate vertices, and inverted normals.
-
Optimize the STL file for 3D printing. This may involve reducing the number of triangles, removing unnecessary details, or repairing errors.
Importing and Editing STL Files
Once you have an STL file, you can import it into various 3D printing software for editing and slicing. Here’s a brief overview of the process:
-
Open your 3D printing software and import the STL file.
-
Adjust the position and orientation of the model as needed.
-
Apply any necessary modifications, such as scaling, rotating, or adding supports.
-
Slice the model into layers for 3D printing. This step involves determining the layer height, infill density, and other printing parameters.
Common STL File Errors and Solutions
STL files can sometimes contain errors that can cause issues during the 3D printing process. Here are some common errors and their solutions:
-
Non-manifold edges: These occur when two faces share an edge, causing the model to be non-physical. To fix this, use a 3D modeling software to repair the model or use an STL repair tool.
-
Duplicate vertices: These occur when two vertices have the same coordinates. To fix this, use a 3D modeling software to merge the vertices or use an STL repair tool.
-
Inverted normals: These occur when the normals of the triangles point in the wrong direction. To fix this, use a 3D modeling software to flip the normals or use an STL repair tool.
STL File Formats and Compatibility
STL files come in two main formats: ASCII and Binary. The ASCII format is human-readable and contains plain text, while the Binary format is more compact


