
Replacing Files in WP-Content/Uploads: A Comprehensive Guide
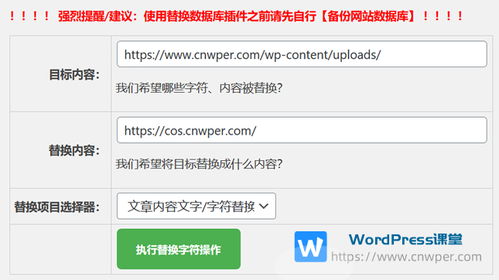
Managing files in your WordPress media library can be a daunting task, especially when it comes to replacing existing files. Whether you need to update images, videos, or documents, understanding how to replace files in the ‘wp-content/uploads’ directory is crucial. In this detailed guide, I’ll walk you through the process step by step, ensuring you have a seamless experience.
Understanding the WP-Content/Uploads Directory

The ‘wp-content/uploads’ directory is where all your media files are stored. This includes images, videos, documents, and any other files you upload to your WordPress site. It’s important to note that this directory is not directly accessible via the WordPress dashboard, so you’ll need to navigate to it manually.
Accessing the WP-Content/Uploads Directory
Accessing the ‘wp-content/uploads’ directory requires either FTP access or cPanel access. Here’s how to do it:
| Method | Instructions |
|---|---|
| FTP | 1. Open your FTP client and connect to your website. 2. Navigate to the ‘wp-content’ folder. 3. Open the ‘uploads’ folder. |
| cPanel | 1. Log in to your cPanel. 2. Click on ‘File Manager.’ 3. Navigate to the ‘wp-content’ folder. 4. Open the ‘uploads’ folder. |
Locating the File You Want to Replace
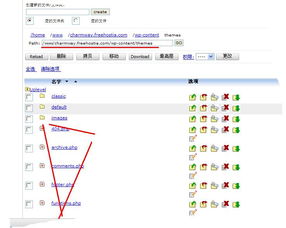
Once you have access to the ‘wp-content/uploads’ directory, you’ll need to locate the file you want to replace. This can be a time-consuming process, especially if you have a large number of files. Here are some tips to help you find the file:
- Use the search function in your FTP client or cPanel to search for the file name.
- Sort the files by date or size to quickly identify the file you’re looking for.
- Check the file name for any clues that might help you identify it, such as a version number or date.
Replacing the File
Once you’ve located the file you want to replace, follow these steps:
- Download the file you want to replace to your local computer.
- Upload the new file to the ‘wp-content/uploads’ directory, replacing the old file.
- Ensure that the new file has the same name as the old file.
- Check the file permissions to ensure that it’s accessible by WordPress.
Updating the Media Library
After replacing the file, you’ll need to update the WordPress media library to reflect the changes. Here’s how to do it:
- Log in to your WordPress dashboard.
- Go to the ‘Media’ section.
- Click on the ‘Library’ tab.
- Locate the file you replaced and click on the ‘Edit’ link.
- Upload the new file and click ‘Update.’
Common Issues and Solutions
When replacing files in the ‘wp-content/uploads’ directory, you may encounter some common issues. Here are some solutions to help you overcome them:
- File Not Found: Ensure that the file name is correct and that you have access to the ‘wp-content/uploads’ directory.
- File Permissions: Check the file permissions to ensure that WordPress can access the file. You can change the permissions using FTP or cPanel.
- Media Library Not Updating: Clear the WordPress cache and try updating the media library again.
Conclusion
Replacing files in the ‘wp-content/uploads’ directory can be a challenging task, but with this comprehensive guide, you should now have a clear understanding of the process. By following these steps,


