
Save Files from MacBook to USB: A Comprehensive Guide
Transferring files from your MacBook to a USB drive is a common task that many users encounter. Whether you’re moving documents, photos, or videos, it’s important to do it efficiently and securely. In this guide, we’ll walk you through the process step by step, ensuring that your files are safely transferred to your USB drive.
Choosing the Right USB Drive

Before you start transferring files, it’s crucial to choose the right USB drive. Consider the following factors:
| Factor | Consideration |
|---|---|
| Storage Capacity | Ensure the USB drive has enough space to store all your files. |
| Speed | Look for USB drives with high read/write speeds for faster transfers. |
| Compatibility | Check if the USB drive is compatible with your MacBook’s USB port. |
| Brand and Warranty | Choose a reputable brand with a good warranty for reliability. |
Once you’ve selected the perfect USB drive, let’s move on to the transfer process.
Connecting the USB Drive to Your MacBook
Connecting your USB drive to your MacBook is a straightforward process:
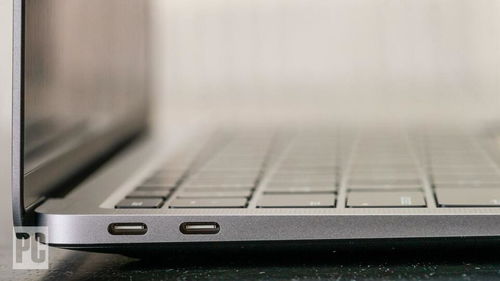
- Locate an available USB port on your MacBook.
- Insert the USB drive into the port. You should hear a sound indicating that the drive has been connected.
- Wait for your MacBook to recognize the USB drive. This may take a few moments.
Once the USB drive is connected and recognized, you can proceed to transfer your files.
Transferring Files to the USB Drive
There are several methods to transfer files from your MacBook to the USB drive:
Using Finder
Finder is the default file manager on macOS, and it’s a great tool for transferring files:
- Open Finder by clicking on the Finder icon in the Dock or by pressing Command + Space and typing “Finder” and pressing Enter.
- In the Finder window, click on the “Go” menu at the top of the screen and select “Computer” or “This Mac” to view all connected devices, including your USB drive.
- Double-click on your USB drive to open it.
- Drag and drop the files you want to transfer from your MacBook to the USB drive.
- Wait for the transfer to complete. You can monitor the progress in the Finder window.
Using Drag and Drop
Another simple method is to use drag and drop:
- Open the folder containing the files you want to transfer on your MacBook.
- Click and hold the files you want to transfer, then drag them to the USB drive icon on the desktop or in the Finder window.
- Release the mouse button to drop the files onto the USB drive.
- Wait for the transfer to complete.
Using Copy and Paste
Copy and paste is another method to transfer files:
- Open the folder containing the files you want to transfer on your MacBook.
- Click and hold the files you want to transfer, then right-click and select “Copy” or press Command + C.
- Open the USB drive in Finder or on the desktop.
- Right-click in the USB drive window and select “Paste” or press Command + V.
- Wait for the transfer to complete.
Additional Tips
Here are some additional tips to ensure a smooth file transfer:
- Keep your MacBook and USB drive clean to prevent any damage during the transfer.
- Use a USB drive with a sturdy design to prevent accidental drops or damage.
- Regularly check the USB drive for any errors or bad sectors using disk utility tools.
- Backup your files before transferring them


