
How to Upload Files to Google Drive and Then Delete Them
Google Drive is a versatile cloud storage service that allows users to store, share, and access their files from anywhere. Whether you’re looking to backup important documents or collaborate with colleagues, Google Drive offers a range of features to help you manage your files efficiently. One such feature is the ability to upload files and then delete them if they are no longer needed. In this guide, I’ll walk you through the process step by step, ensuring you can easily upload and delete files on Google Drive.
Step 1: Accessing Google Drive

To begin, you’ll need to access Google Drive. If you already have a Google account, simply log in to your Google account on any web browser. If you don’t have a Google account, you can create one for free by visiting the Google Drive website and following the instructions.
Step 2: Uploading Files
Once you’re logged in to Google Drive, you can start uploading files. There are several ways to upload files:
-
Using the web interface:
-
Click on the “New” button located at the top left corner of the screen.
-
Select “File upload” from the dropdown menu.
-
Browse your computer and select the files you want to upload.
-
Click “Open” to start the upload process.
-
-
Dragging and dropping files:
-
Open Google Drive in your web browser.
-
Drag the files you want to upload from your computer and drop them into the Google Drive window.
-
-
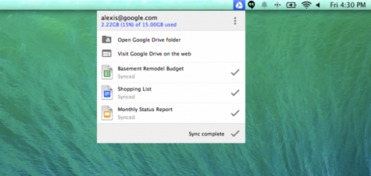
Using Google Drive’s desktop app:
-
Download and install the Google Drive desktop app from the official website.
-
Open the app and log in with your Google account.
-
Drag and drop the files you want to upload into the Google Drive folder on your computer.
-
Step 3: Deleting Files
After uploading your files, you may want to delete them if they are no longer needed. Here’s how to do it:
-
Using the web interface:
-
Locate the file you want to delete in your Google Drive.
-
Right-click on the file and select “Move to trash” from the dropdown menu.
-
Confirm the deletion by clicking “OK” in the pop-up window.
-
-
Using the Google Drive mobile app:
-
Open the Google Drive app on your mobile device.
-
Tap and hold the file you want to delete.
-
Select “Move to trash” from the options that appear.
-
Step 4: Permanently Deleting Files
By default, files are moved to the trash when deleted. However, you can permanently delete files from Google Drive to free up space:
-
Using the web interface:
-
Go to the “Trash” folder in Google Drive.
-
Right-click on the file you want to permanently delete and select “Delete forever” from the dropdown menu.
-
Confirm the deletion by clicking “OK” in the pop-up window.
-
-
Using the Google Drive mobile app:
-
Open the Google Drive app on your mobile device.
-
Go to the “Trash” folder.
-
Tap and hold the file you want to permanently delete.
-
Select “Delete forever” from the options that appear.
-


