
Transforming TIFF to JPEG: A Comprehensive Guide for You
Are you looking to convert your TIFF files to JPEG format? You’ve come to the right place. In this detailed guide, I’ll walk you through the process from start to finish, ensuring you have all the information you need to make the switch. Whether you’re a photographer, graphic designer, or simply someone who needs to convert files for personal use, this guide is tailored to help you achieve your goal efficiently.
Understanding TIFF and JPEG Formats

Before diving into the conversion process, it’s essential to understand the differences between TIFF and JPEG formats.
| TIFF | JPEG |
|---|---|
| Lossless Compression | Lossy Compression |
| Supports Alpha Channel | No Alpha Channel Support |
| Higher File Size | Smaller File Size |
| Used in Professional Photography and Printing | Used in Web and Digital Images |
As you can see, TIFF files offer lossless compression, which means they maintain the original quality of the image. However, this comes at the cost of larger file sizes. JPEG files, on the other hand, use lossy compression, which reduces file size but may result in some loss of quality.
Why Convert TIFF to JPEG?
There are several reasons why you might want to convert your TIFF files to JPEG format:
-
Smaller File Size: JPEG files are significantly smaller than TIFF files, making them easier to share and store.
-
Web Compatibility: JPEG is the standard format for web images, ensuring your files look great on any device.
-
Editing Flexibility: JPEG files are more versatile when it comes to editing, as they can be easily modified without losing quality.
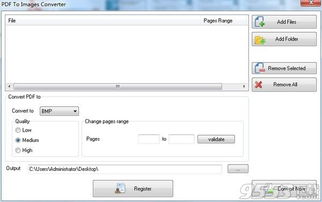
Choosing the Right Conversion Tool
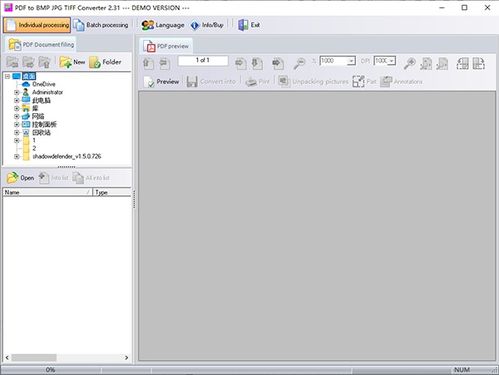
There are several tools available for converting TIFF to JPEG, each with its own set of features and benefits. Here are some popular options:
-
Adobe Photoshop: A powerful image editing software that offers a straightforward conversion process.
-
Online Conversion Tools: Websites like Online-Convert and Convertio provide a simple and free way to convert files without installing any software.
-
ImageMagick: A command-line tool that offers advanced features and flexibility for batch conversions.
Step-by-Step Conversion Process
Now that you have the right tool, let’s go through the step-by-step process of converting your TIFF files to JPEG:
-
Open the TIFF file in your chosen conversion tool.
-
Select the JPEG format as the output format.
-
Adjust the quality settings if necessary. A lower quality setting will result in a smaller file size but may affect image quality.
-
Choose the destination folder for your converted files.
-
Start the conversion process and wait for the files to be converted.
Additional Tips and Tricks
Here are some additional tips and tricks to help you get the best results from your conversion:
-
Batch Conversion: If you have multiple TIFF files to convert, use batch conversion to save time.
-
Keep Original Files: Always keep a copy of your original TIFF files in case you need to revert to the original format.
-
Test the Output: After converting your files, test them to ensure they meet your quality standards.
By following this comprehensive guide, you should now be well-equipped to convert your TIFF files to JPEG format. Whether you’re looking to save space, improve web compatibility, or simply have more editing flexibility, the process is straightforward and accessible to anyone with a basic understanding of image formats.


