
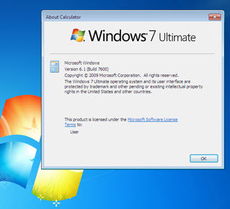
Windows 7 ISO File: A Comprehensive Guide for Users
Are you looking to install Windows 7 on your computer but unsure where to start? Look no further! In this detailed guide, we will explore everything you need to know about the Windows 7 ISO file, including its features, system requirements, and the installation process. Let’s dive in!
What is a Windows 7 ISO File?

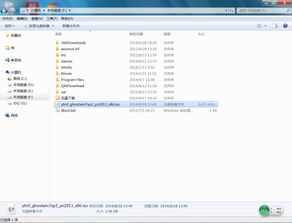
A Windows 7 ISO file is an image of the Windows 7 installation disc. It contains all the necessary files and information required to install the operating system on your computer. By using an ISO file, you can create a bootable USB drive or burn it to a DVD, making the installation process much easier than using physical media.
System Requirements
Before you proceed, ensure that your computer meets the minimum system requirements for Windows 7. Here’s a quick overview:
| Component | Minimum Requirement |
|---|---|
| Processor | 1 GHz or faster |
| RAM | 1 GB (32-bit) or 2 GB (64-bit) |
| Hard Disk Space | 16 GB (32-bit) or 20 GB (64-bit) |
| Graphics Card | DirectX 9 graphics device with WDDM 1.0 or higher driver |
Where to Find a Windows 7 ISO File
There are several ways to obtain a Windows 7 ISO file. Here are a few options:
- Microsoft’s Official Website: You can purchase a Windows 7 ISO file directly from Microsoft’s official website. This is the most reliable and legal option.
- Third-Party Websites: There are numerous third-party websites that offer Windows 7 ISO files for free. However, be cautious when downloading from these sources, as some may contain malware or viruses.
- Legal Alternatives: Some software companies offer legal alternatives to purchasing a Windows 7 ISO file. These alternatives often include a free trial or a discounted price.
Creating a Bootable USB Drive
Once you have the Windows 7 ISO file, you’ll need to create a bootable USB drive. Here’s a step-by-step guide:
- Download a USB creation tool, such as Rufus or Windows USB/DVD Download Tool.
- Insert a USB drive into your computer and ensure it has enough space to hold the ISO file (at least 4 GB for 32-bit and 8 GB for 64-bit).
- Open the USB creation tool and select the Windows 7 ISO file.
- Follow the on-screen instructions to create the bootable USB drive.
- Once the process is complete, you can use the bootable USB drive to install Windows 7 on your computer.
Installing Windows 7 from the ISO File
Now that you have a bootable USB drive, follow these steps to install Windows 7:
- Insert the bootable USB drive into your computer and restart it.
- Press the appropriate key (usually F2, F10, or Del) to enter the BIOS or UEFI settings.
- Change the boot order to prioritize the USB drive.
- Save the changes and exit the BIOS/UEFI settings.
- The computer will boot from the USB drive, and you’ll see the Windows 7 setup screen.
- Follow the on-screen instructions to install Windows 7.
Activating Windows 7
After the installation process is complete, you’ll need to activate Windows 7 to ensure that it is genuine and to receive updates. Here’s how to activate Windows 7:
- Open the Start menu


