
Optimizing Your PNG File Size to 320 x 320: A Comprehensive Guide
When it comes to image optimization, resizing your PNG files to a specific dimension, such as 320 x 320, can significantly enhance their performance on websites and other digital platforms. In this article, we will delve into the various aspects of optimizing your PNG files to this size, ensuring that they maintain their quality while reducing their file size. Let’s explore the process from start to finish.
Understanding PNG Files

Before we dive into resizing, it’s essential to understand what a PNG file is. PNG, which stands for Portable Network Graphics, is a raster graphics format that supports lossless compression. This means that when you resize a PNG file, you can reduce its size without losing any quality. However, it’s crucial to use the right tools and techniques to achieve the desired outcome.
Choosing the Right Tools
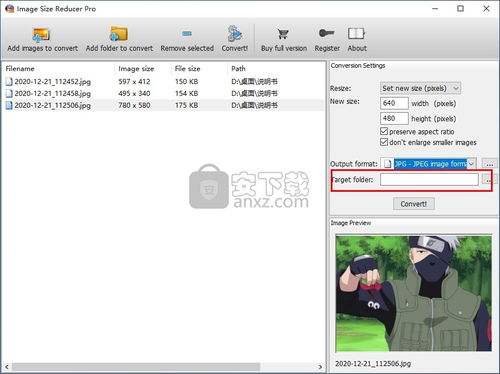
There are several tools available for resizing PNG files to 320 x 320. Some popular options include Adobe Photoshop, GIMP, and online image editors like Pixlr and Canva. Each of these tools has its own set of features and capabilities, so it’s essential to choose the one that best suits your needs.
| Tool | Platform | Key Features |
|---|---|---|
| Adobe Photoshop | Windows, macOS | Advanced image editing, batch processing, and layer support |
| GIMP | Windows, macOS, Linux | Free and open-source, similar to Photoshop, with a range of features |
| Pixlr | Web-based | Easy-to-use interface, basic image editing tools, and cloud storage |
| Canva | Web-based | Drag-and-drop interface, extensive design templates, and collaboration features |
Resizing Your PNG File
Once you’ve chosen the right tool, the process of resizing your PNG file to 320 x 320 is relatively straightforward. Here’s a step-by-step guide for Adobe Photoshop:
- Open your PNG file in Photoshop.
- Go to the “Image” menu and select “Image Size.” This will open a dialog box with various options.
- In the “Document Size” section, enter “320” for both the width and height fields.
- Make sure the “Resample Image” option is checked. This will allow Photoshop to adjust the image’s resolution while maintaining quality.
- Select the desired resampling algorithm, such as “Bicubic (best for smooth, detailed images)” or “Bicubic Sharper (best for images with hard edges).” The choice depends on your specific needs.
- Click “OK” to apply the changes.
Optimizing for Web
After resizing your PNG file to 320 x 320, it’s essential to optimize it for web use. This involves compressing the file further to reduce its size without sacrificing quality. Here are a few tips:
- Use a PNG optimizer tool, such as OptiPNG or PNG Crush, to reduce the file size.
- Consider converting your PNG file to a JPEG format if the image has a solid color background. JPEG files typically have smaller file sizes than PNGs.
- Use a content delivery network (CDN) to serve your optimized images, which can improve load times and performance.
Testing and Monitoring
Once you’ve resized and optimized your PNG file, it’s crucial to test and monitor its performance. Here are a few tips:
- Use online tools like Google PageSpeed Insights or GTmetrix to analyze your website’s performance and identify any potential issues.
- Monitor your website’s load times and ensure that the 320 x 320 PNG files are not causing any delays.


