
How to Shrink a File Size: A Comprehensive Guide for PDFs
Managing file sizes, especially for PDFs, is a common challenge for many users. Whether you’re dealing with large documents for work, school, or personal projects, reducing the file size of a PDF can be crucial. This guide will walk you through various methods to shrink a PDF file size, ensuring that you can share, store, or send your documents without any hassle.
Understanding PDF File Size

Before diving into the methods to shrink a PDF, it’s essential to understand what contributes to its file size. A PDF file size is influenced by several factors, including the resolution of images, the number of pages, the type of fonts used, and the inclusion of embedded files. By addressing these factors, you can effectively reduce the file size of your PDF.
Method 1: Compressing Images
Images are often the largest contributors to a PDF’s file size. Compressing images can significantly reduce the overall size of your PDF. Here’s how you can do it:
-
Open your PDF in Adobe Acrobat Pro. If you don’t have Acrobat Pro, you can use free online tools like Smallpdf or iLovePDF.
-
Select “File” > “Save As” > “PDF Optimizer.” This will open a new window with various optimization options.
-
Under the “Compression” tab, you can adjust the image quality. Lowering the resolution and color depth can help reduce the file size. Experiment with different settings to find the balance between quality and size.
-
Click “OK” to save the optimized PDF.
Method 2: Reducing Font Size
Fonts can also contribute to a PDF’s file size. By reducing the font size, you can minimize the impact on the file size. Here’s how to do it:
-
Open your PDF in Adobe Acrobat Pro.
-
Select “File” > “Properties” > “Fonts.” This will display a list of all the fonts used in your document.
-
Click on the font you want to reduce the size of, and then click “Edit.” Adjust the font size to a smaller value.
-
Click “OK” to save the changes.
Method 3: Removing Unnecessary Elements
Removing unnecessary elements from your PDF can help reduce its file size. Here’s what you can do:
-
Open your PDF in Adobe Acrobat Pro.
-
Select “File” > “Properties” > “Details.” This will display a list of all the elements in your document.
-
Review the list and remove any unnecessary elements, such as comments, bookmarks, or embedded files.
-
Click “OK” to save the changes.
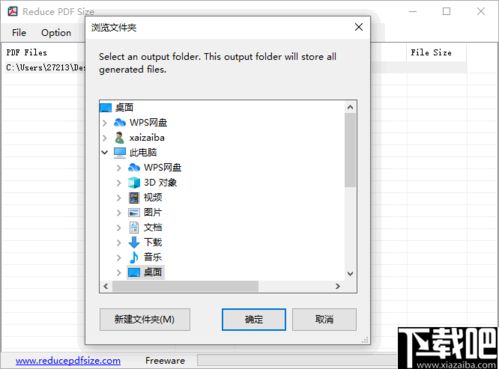
Method 4: Using Online Tools
Online tools like Smallpdf, iLovePDF, and Adobe Acrobat online services offer convenient ways to shrink PDF files. Here’s how to use Smallpdf as an example:
-
Visit the Smallpdf website and upload your PDF file.
-
Select the “Compress PDF” option.
-
Adjust the compression settings to your preference.
-
Click “Compress” to reduce the file size.
-
Download the optimized PDF to your device.
Method 5: Using Adobe Acrobat Pro DC
Adobe Acrobat Pro DC offers a range of features to help you shrink PDF files. Here’s how to use it:
-
Open your PDF in Adobe Acrobat Pro DC.
-
Select “File” > “Save As.” Choose a new file name and location.
-
In the “Save As” dialog box, click the “PDF Optimizer” button.
-
Under the “Compression” tab, adjust the image quality and color depth.
-
Click “OK” to save the optimized PDF.


