
How to Export an Excel File to SQL Plus: A Detailed Guide
Exporting an Excel file to SQL Plus can be a crucial step in data analysis and management. Whether you’re a beginner or an experienced user, this guide will walk you through the process step by step. By the end, you’ll be able to efficiently transfer your Excel data into SQL Plus for further processing and querying.
Understanding SQL Plus

Before diving into the export process, it’s essential to have a basic understanding of SQL Plus. SQL Plus is a command-line tool used to interact with an Oracle database. It allows you to execute SQL statements, manage database objects, and perform various administrative tasks. Familiarize yourself with the basic commands and syntax to ensure a smooth export process.
Preparation
Before you begin, make sure you have the following prerequisites in place:
- Oracle Database installed and running
- SQL Plus installed and configured
- Excel file containing the data you want to export
Step 1: Open SQL Plus

Launch SQL Plus by searching for it in your system’s search bar or by navigating to the installation directory. Once opened, you’ll see a command prompt where you can enter SQL statements.
Step 2: Connect to the Database
Before exporting the Excel file, you need to connect to your Oracle database. Use the following command to establish a connection:
CONNECT username/password@database_nameReplace “username,” “password,” and “database_name” with your actual database credentials.
Step 3: Create a Table
Next, create a table in your database that will store the data from the Excel file. Use the following SQL statement to create a table with the appropriate columns:
CREATE TABLE table_name ( column1 datatype, column2 datatype, ...)Replace “table_name” with the desired name for your table and “column1,” “column2,” etc., with the column names and data types that match your Excel file.
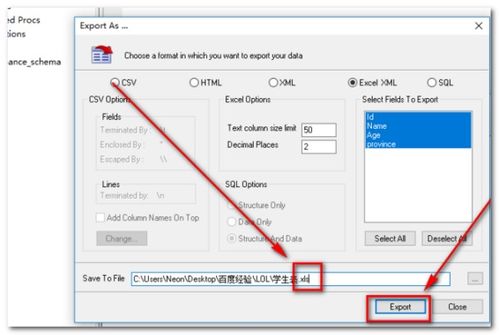
Step 4: Export Excel Data to SQL Plus
Now, it’s time to export the Excel data into SQL Plus. There are several methods to achieve this, but one of the most common approaches is to use the “LOAD DATA INFILE” command. Follow these steps:
- Open your Excel file and select the range of cells containing the data you want to export.
- Copy the selected range.
- Open a text editor (such as Notepad) and paste the copied data into the editor.
- Save the text file with a “.csv” extension (e.g., “data.csv”).
- Use the following SQL statement to load the data from the CSV file into your table:
LOAD DATA INFILE 'path_to_csv_file.csv'INTO TABLE table_nameFIELDS TERMINATED BY ','ENCLOSED BY '"'LINES TERMINATED BY ''(column1, column2, ...)Replace “path_to_csv_file.csv” with the actual path to your CSV file, “table_name” with the name of your table, and “column1,” “column2,” etc., with the column names in your table. Make sure to match the order of the columns in the SQL statement with the order of the columns in your CSV file.
Step 5: Verify the Data
After loading the data, it’s crucial to verify that the data has been transferred correctly. Use the following SQL statement to select data from your table:
SELECT FROM table_name;Review the output to ensure that the data matches your expectations. If you find any discrepancies, double-check the CSV file and the SQL statement to identify the issue.
Step 6: Close the Connection
Once you’ve finished exporting the Excel data to SQL Plus, it’s essential to close the connection to the database. Use the following command to disconnect from the database:
DISCONNECTConclusion
Exporting an Excel file to SQL Plus can be a straightforward process if you follow these steps. By understanding the basics of SQL Plus, preparing your environment, and carefully executing the export commands, you’ll be able to efficiently transfer your data for further


