
Command to Zip Files in Linux: A Comprehensive Guide
Managing files on a Linux system can be quite a task, especially when you have a large number of files that you want to organize or transfer. One of the most common ways to do this is by compressing files into a single archive. This is where the ‘zip’ command comes into play. In this guide, I will walk you through the process of using the ‘zip’ command to compress files in Linux, covering various aspects such as syntax, options, and practical examples.
Understanding the Zip Command

The ‘zip’ command is a utility that is available on most Linux distributions. It allows you to create, extract, and manage zip archives. The basic syntax for the ‘zip’ command is as follows:
zip [options] [archive_name.zip] [file1] [file2] ...Here, ‘[options]’ refers to any additional flags you might want to use, ‘[archive_name.zip]’ is the name of the zip file you want to create, and ‘[file1]’, ‘[file2]’, etc., are the files you want to include in the archive.
Basic Options
There are several options you can use with the ‘zip’ command to customize its behavior. Here are some of the most commonly used ones:
| Option | Description |
|---|---|
| -r | Recursively add files and directories |
| -v | Verbosely list the files added to the archive |
| -q | Quiet mode; suppress all messages |
| -j | Exclude paths from the archive |
| -m | Move files to the archive after adding them |
For example, to add all files in the current directory to a zip file named ‘archive.zip’, you would use the following command:
zip -r archive.zip .This command will recursively add all files and directories in the current directory to the ‘archive.zip’ file.
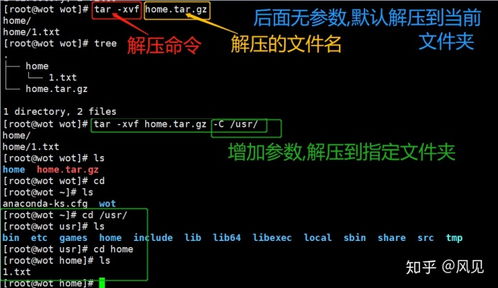
Extracting Files from a Zip Archive
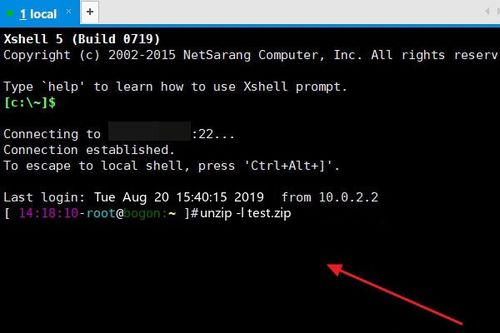
Once you have created a zip archive, you might want to extract its contents. The ‘unzip’ command is used for this purpose. The basic syntax for the ‘unzip’ command is as follows:
unzip [archive_name.zip]This command will extract all files from the ‘archive_name.zip’ file to the current directory. If you want to specify a different directory for the extracted files, you can use the ‘-d’ option followed by the directory path:
unzip -d /path/to/directory archive_name.zipAdvanced Usage
There are several advanced features of the ‘zip’ command that can be quite useful. Here are a few examples:
Setting the Compression Level
The ‘zip’ command allows you to set the compression level of the archive using the ‘-9’ option, which is the highest compression level. To set the compression level to maximum, you would use the following command:
zip -9 archive.zip file1 file2 ...Adding Password Protection
If you want to protect your zip archive with a password, you can use the ‘-P’ option followed by the password:
zip -P password archive.zip file1 file2 ...This command will add a password to the ‘archive.zip’ file, and you will be prompted to enter the password when extracting the files.
Creating a Self-Extracting Zip Archive
A self-extracting zip archive is a zip file that can be extracted without the need for the ‘unzip’ command. To create a self-extracting zip archive, you would use the following command:
zip -r -e self_extracting_archive.exe file1 file2 ...This command will create a self-extracting executable named ‘self_extracting_archive.exe’ that can be


