
Find Hidden Files in Windows: A Comprehensive Guide
Windows, being one of the most widely used operating systems, offers a plethora of features and functionalities. One such feature is the ability to hide files and folders, which can be quite useful for keeping sensitive data secure. However, finding these hidden files can sometimes be a challenge. In this article, we will delve into various methods to help you uncover hidden files in Windows, ensuring that your data remains protected and accessible when needed.
Understanding Hidden Files

Before we dive into the methods to find hidden files, it’s essential to understand what they are. Hidden files are files and folders that are not visible to the user by default. This feature is often used to protect sensitive data from unauthorized access. To make hidden files visible, you need to adjust the file and folder options in Windows.
Method 1: Using File Explorer
One of the simplest ways to find hidden files in Windows is by using the File Explorer. Here’s how you can do it:
- Open File Explorer by clicking on the folder icon in the taskbar or pressing the Windows key + E.
- In the File Explorer window, click on the “View” tab at the top.
- Look for the “Hidden items” checkbox in the “Show/hide” group. Check this box to make hidden files and folders visible.
- Click “Apply” and then “OK” to save the changes.
Once you’ve made these changes, hidden files and folders will be visible in File Explorer.
Method 2: Using Command Prompt
Another method to find hidden files in Windows is by using the Command Prompt. This method is particularly useful if you want to find hidden files in a specific folder. Here’s how to do it:
- Press the Windows key + R to open the Run dialog box.
- Type “cmd” and press Enter to open the Command Prompt.
- In the Command Prompt window, type the following command and press Enter:
dir /a:h /s
This command will list all hidden files and folders in the current directory and its subdirectories.
Method 3: Using PowerShell
PowerShell is a powerful scripting language and command-line shell that comes with Windows. It can be used to find hidden files in a more advanced manner. Here’s how to do it:
- Press the Windows key + X and select “Windows PowerShell (Admin)” from the list.
- In the PowerShell window, type the following command and press Enter:
Get-ChildItem -Path "C:pathtofolder" -Recurse -File -Attributes Hidden
This command will list all hidden files in the specified folder and its subfolders.
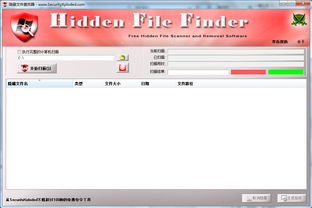
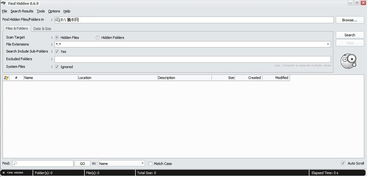
Method 4: Using Third-Party Software
There are several third-party software tools available that can help you find hidden files in Windows. Some popular options include:
| Software | Description |
|---|---|
| CCleaner | CCleaner is a popular system optimization and privacy tool. It includes a feature to find and delete hidden files. |
| Advanced File Recovery | Advanced File Recovery is a powerful file recovery tool that can also help you find hidden files. |
| Unhide Pro | Unhide Pro is a simple and straightforward tool designed specifically for finding and un-hiding hidden files and folders. |
When using third-party software, make sure to download it from a reputable source and follow the instructions provided by the software developer.
Conclusion
Finding hidden files in Windows can be a challenging task, but with the right methods, it can be done efficiently. By using the File Explorer, Command Prompt, PowerShell, or third-party software, you can uncover hidden files and folders in Windows. Always remember to exercise caution when dealing with hidden files, as they may contain sensitive data.


