
Convert HEIC File to JPG: A Comprehensive Guide for You
Have you ever come across a HEIC file and wondered how to convert it to a more widely used format like JPG? If so, you’re in the right place. In this detailed guide, I’ll walk you through the process of converting HEIC files to JPG, covering various methods and tools that you can use. Whether you’re a tech-savvy individual or someone who’s just starting out, this guide will help you achieve the conversion with ease.
Understanding HEIC and JPG Formats

Before diving into the conversion process, it’s essential to understand the differences between HEIC and JPG formats.
| HEIC | JPG |
|---|---|
| High Efficiency Image File Format | Joint Photographic Experts Group |
| Developed by Apple | Developed by Joint Photographic Experts Group |
| Supports lossless compression | Supports lossy compression |
| Supports 16-bit color depth | Supports 8-bit color depth |
HEIC is a newer image format that offers better compression and supports more features than the traditional JPG format. However, not all devices and software support HEIC, which is why converting it to JPG can be beneficial.
Method 1: Using Apple’s Photos App
If you’re using a Mac or an iOS device, you can easily convert HEIC files to JPG using the built-in Photos app.
- Open the Photos app on your device.
- Locate the HEIC file you want to convert.
- Right-click on the file and select “Export.”
- In the export dialog, choose “File” as the format and select “JPG.”
- Click “Export” to save the converted file to your desired location.
This method is straightforward and requires no additional software. However, it’s limited to Apple devices and may not work for HEIC files stored on external drives or cloud storage.
Method 2: Using Online Conversion Tools
Online conversion tools are a convenient option if you don’t have access to a Mac or iOS device. These tools allow you to convert HEIC files to JPG directly from your web browser.
- Search for “HEIC to JPG converter” in your preferred search engine.
- Select a reliable online conversion tool from the search results.
- Upload the HEIC file you want to convert.
- Select JPG as the output format.
- Click “Convert” or a similar button to start the conversion process.
- Download the converted JPG file to your device.
Online conversion tools are generally easy to use and offer flexibility, but they may have limitations in terms of file size and privacy concerns.
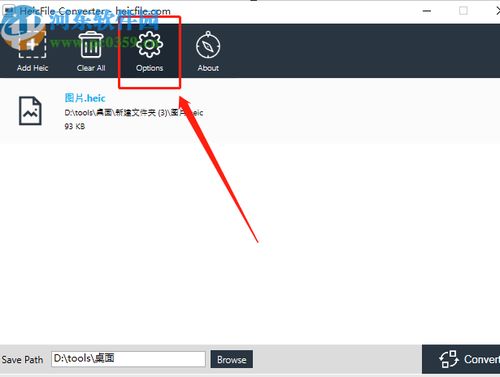
Method 3: Using Third-Party Software
For those who prefer a more comprehensive solution, third-party software can be a great option. These programs offer advanced features and can handle various image formats, including HEIC to JPG conversion.
- Search for “HEIC to JPG converter software” in your preferred search engine.
- Select a reputable software provider from the search results.
- Download and install the software on your device.
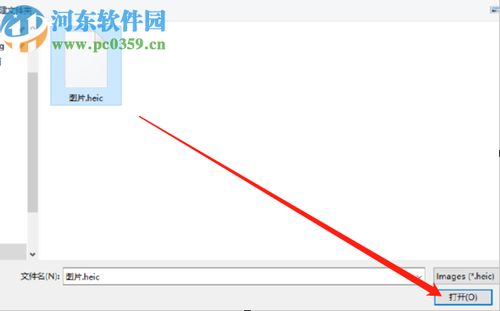
- Open the software and import the HEIC file you want to convert.
- Select JPG as the output format.
- Adjust any desired settings, such as image quality or color profile.
- Click “Convert” to start the conversion process.
- Save the converted JPG file to your desired location.
Third-party software provides more control over the conversion process and can handle various image formats and settings. However, it may require a purchase or subscription to access all features.
Conclusion
Converting HEIC files to JPG is a straightforward process, and there are several methods you can choose from based on


