
Understanding the Power of 7zip

Are you tired of dealing with bulky files and slow compression tools? Look no further than 7zip, a versatile and powerful file compression tool that can revolutionize the way you manage your files. In this detailed guide, we’ll explore the ins and outs of 7zip, covering its features, installation, usage, and more.
What is 7zip?
7zip is an open-source file archiver that supports a wide range of file formats, including its own 7z format, ZIP, RAR, GZIP, BZIP2, and more. It is known for its high compression ratio, making it an excellent choice for compressing large files and folders. 7zip is available for Windows, Linux, and macOS, and it is free to download and use.
Features of 7zip
Here are some of the key features that make 7zip stand out from other compression tools:
| Feature | Description |
|---|---|
| High Compression Ratio | 7zip offers one of the highest compression ratios among file archivers, making it ideal for compressing large files and folders. |
| Support for Multiple Formats | 7zip supports a wide range of file formats, including its own 7z format, ZIP, RAR, GZIP, BZIP2, and more. |
| Fast Compression and Decompression | 7zip offers fast compression and decompression speeds, making it a great choice for both large and small files. |
| Encryption | 7zip supports encryption, allowing you to protect your files and folders with a password. |
| Command Line Interface | 7zip offers a command line interface, making it easy to automate tasks and integrate it with other software. |
How to Install 7zip
Installing 7zip is a straightforward process. Here’s how to do it on different operating systems:
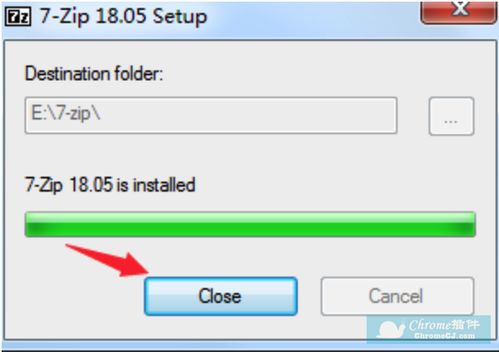
Windows
1. Download the 7zip installer from the official website: https://www.7-zip.org/download.html.
2. Run the installer and follow the on-screen instructions.
3. Once installed, you can access 7zip through the Start menu or by right-clicking on files and folders in Windows Explorer.
macOS
1. Download the 7zip DMG installer from the official website: https://sparanoid.com/lab/7z/.
2. Open the DMG file and drag the 7zip application to your Applications folder.
3. You can now access 7zip through the Applications folder or by right-clicking on files and folders in Finder.
Linux
1. Open a terminal window.
2. Use the package manager for your Linux distribution to install 7zip. For example, on Ubuntu, you can use the following command:
sudo apt-get install p7zip-full
3. Once installed, you can use 7zip through the command line or by installing a graphical user interface like KArchiver or File Roller.
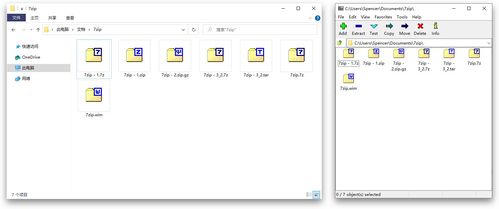
Using 7zip
Once you have installed 7zip, you can start using it to compress and decompress files and folders. Here’s a quick guide on how to get started:
Compressing Files and Folders
1. Right-click on a file or folder in Windows Explorer or Finder.
2. Select “7zip” from the context menu.
3. Choose the compression format you want to use (e.g., 7z, ZIP, RAR) and click “OK” to start the compression process.
Decompressing Files and Folders
1. Right-click on a compressed file or folder in Windows Explorer or Finder.


