
Unzip Files on Mac: A Comprehensive Guide for You
Unzipping files on a Mac is a fundamental skill that every user should master. Whether you’re dealing with a compressed archive from a friend, downloading software updates, or organizing your files, knowing how to unzip files efficiently can save you time and frustration. In this detailed guide, I’ll walk you through the process of unzipping files on your Mac from various angles, ensuring you’re well-equipped to handle any situation.
Using the Finder to Unzip Files

The Finder is the default file manager on your Mac, and it offers a straightforward way to unzip files. Here’s how to do it:
- Locate the zipped file you want to unzip. It will have a .zip extension.
- Right-click on the file and select “Compress.” This will create a new zip file, which is not what you want.
- Instead, click and drag the zipped file to a new location or folder. The Finder will automatically unzip the file as you drop it.
- Alternatively, you can double-click the zipped file. A new window will open, showing the contents of the zip file. Drag the contents to a new location or folder to unzip them.
This method is simple and effective, but it may not be the fastest for large files or multiple files.
Using Terminal to Unzip Files
For those who prefer a more hands-on approach or need to unzip files in bulk, the Terminal is a powerful tool. Here’s how to use it:
- Open the Terminal application, which is located in the /Applications/Utilities/ folder.
- Use the “cd” command to navigate to the directory containing the zipped file. For example, if the file is on your desktop, you would type:
- Once you’re in the correct directory, use the “unzip” command followed by the name of the zipped file. For example:
- This will unzip the file to the current directory. If you want to specify a different location, use the “-d” option followed by the path to the destination directory. For example:
cd ~/Desktopunzip filename.zipunzip filename.zip -d /path/to/destinationUsing the Terminal can be faster and more efficient, especially when dealing with multiple files or large archives.
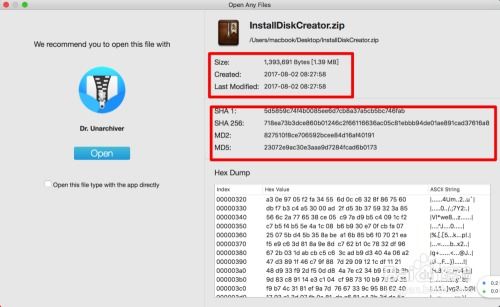
Using Third-Party Applications
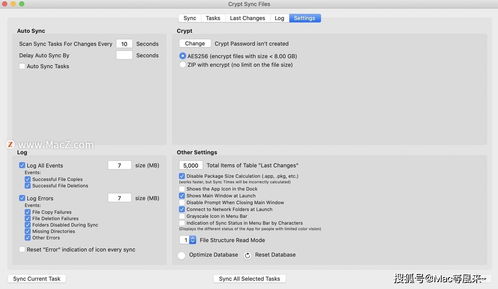
While the Finder and Terminal are sufficient for most users, there are several third-party applications that offer additional features and convenience. Here are a few popular options:
| Application | Description | Price |
|---|---|---|
| The Unarchiver | A free, open-source application that supports a wide range of archive formats. | Free |
| UnRarX | A free application specifically designed for extracting RAR files. | Free |
| ZipX | A paid application that offers advanced features like password protection and file encryption. | $9.99 |
These applications can be particularly useful if you frequently work with specific types of compressed files or require additional security features.
Best Practices for Unzipping Files
When unzipping files on your Mac, it’s important to follow some best practices to ensure a smooth and secure experience:
- Keep Your Software Updated: Regularly update your operating system and applications to ensure you have the latest security patches and features.
- Scan for Malware: Before extracting files from an unknown source, use a reputable antivirus or anti-malware tool to scan the files for potential threats.
- Backup Your Files: Always backup important files before extracting them from a compressed archive to prevent data loss.
- Use Strong Passwords: If you’re using a third-party application with password protection, use strong,


