
How to Save Hosts as File: A Comprehensive Guide
Managing your hosts file is a crucial task for anyone looking to customize their internet experience. Whether you want to block ads, bypass geo-restrictions, or simply manage your network settings more effectively, saving your hosts file as a separate document can be incredibly helpful. In this detailed guide, I’ll walk you through the process of saving your hosts file as a file on your computer, covering various operating systems and scenarios.
Understanding the Hosts File

The hosts file is a local database that maps hostnames to IP addresses. It’s used by your computer to resolve domain names without relying on external DNS servers. By editing the hosts file, you can control which websites load when you type in a domain name, effectively bypassing the DNS resolution process.
Locating the Hosts File
The location of the hosts file varies depending on your operating system:
| Operating System | Location |
|---|---|
| Windows | C:WindowsSystem32driversetchosts |
| macOS | /etc/hosts |
| Linux | /etc/hosts |
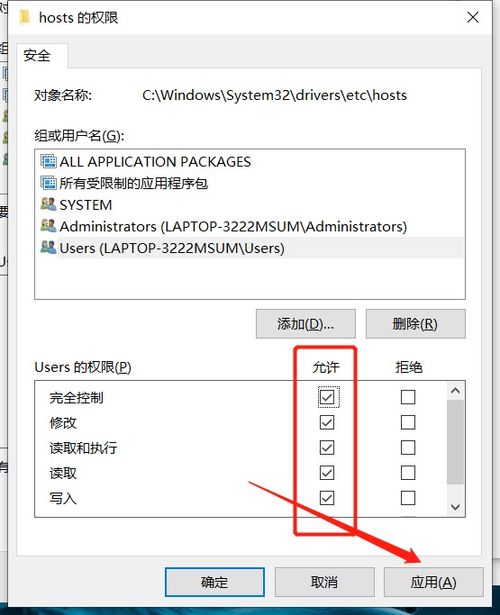
Remember that you may need administrative privileges to edit the hosts file on Windows and macOS.
Backing Up the Original Hosts File
Before making any changes to the hosts file, it’s essential to create a backup. This ensures that you can revert to the original file if something goes wrong.
On Windows:
- Right-click on the hosts file and select “Copy.”
- Open the “C:WindowsSystem32driversetc” folder.
- Right-click in the folder and select “Paste.”
- Rename the copied file to “hosts_backup.”
On macOS and Linux:
- Open the Terminal.
- Use the “cp” command to copy the hosts file to a new location. For example: cp /etc/hosts /etc/hosts_backup.
Editing the Hosts File
Now that you have a backup, you can proceed to edit the hosts file. Open the file using a text editor with administrative privileges. Here are some common changes you might make:
- Block ads: Add a line with “127.0.0.1” followed by the domain name of the ad server. For example: 127.0.0.1 adserver.com.
- Bypass geo-restrictions: Add a line with “127.0.0.1” followed by the domain name of the restricted website. For example: 127.0.0.1 restrictedwebsite.com.
- Customize DNS resolution: Add a line with the IP address of your preferred DNS server followed by the domain name. For example: 8.8.8.8 google.com.
Saving the Hosts File
After making your changes, save the hosts file. On Windows, you may need to close and reopen the text editor to ensure the changes take effect. On macOS and Linux, the changes should take effect immediately.
Creating a Hosts File Backup
Now that you’ve made changes to the hosts file, it’s a good idea to create a backup of the modified file. This will allow you to revert to the current state if you encounter any issues.
On Windows:
- Right-click on the hosts file and select “Copy.”
- Open the “C:WindowsSystem32driversetc” folder.
- Right-click in the folder and select “Paste.”
- Rename the copied file to “hosts_backup_modified.”
On macOS and Linux:
- Open the Terminal.
- Use the “cp” command to copy the hosts file to a new location. For example: cp /etc/hosts /etc/hosts_backup_modified


