
Visual Studio Offline Installer with VSConfig File: A Comprehensive Guide
Are you looking to install Visual Studio offline? Do you want to customize your installation with a VSConfig file? If so, you’ve come to the right place. In this detailed guide, I’ll walk you through the process of downloading the Visual Studio offline installer and using a VSConfig file to tailor your installation to your specific needs.
Downloading the Visual Studio Offline Installer

Before you can install Visual Studio offline, you need to download the offline installer. Here’s how to do it:
- Go to the Visual Studio download page on the Microsoft website.
- Select the version of Visual Studio you want to install.
- Click on the “Download” button next to the offline installer option.
- Save the installer to your computer.
Once you’ve downloaded the installer, you’re ready to proceed with the installation process.
Running the Visual Studio Offline Installer
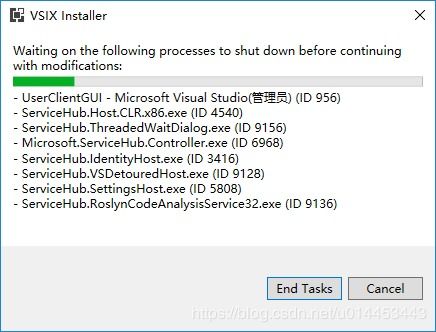
After downloading the offline installer, you need to run it to start the installation process. Here’s how to do it:
- Double-click on the downloaded installer file to launch it.
- Follow the on-screen instructions to begin the installation.
- When prompted, select the “Install Visual Studio” option.
- Choose the installation location for Visual Studio on your computer.
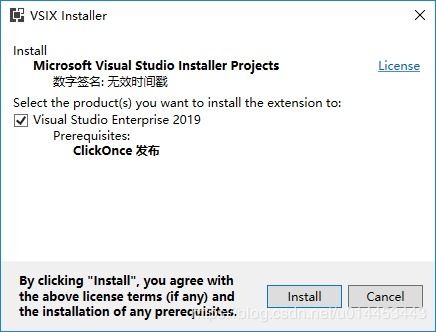
- Select the components you want to install. You can use the VSConfig file to customize this step.
Once you’ve selected the components you want to install, click “Next” to begin the installation process.
Using a VSConfig File to Customize Your Installation
A VSConfig file is a text file that you can use to customize your Visual Studio installation. It allows you to specify which components to install, which features to enable, and more. Here’s how to use a VSConfig file:
- Open a text editor and create a new text file.
- Enter the following information into the text file:
[VSInstall]Version=15.0Product=VisualStudioComponent=Workloads=Web,Desktop,Data,Mobile,Cloud,Game,IA,Python,ML
This VSConfig file will install Visual Studio 2017 with the following workloads: Web, Desktop, Data, Mobile, Cloud, Game, IA, Python, and ML.
- Save the file with a .vsconfig extension, for example, “myVSConfig.vsconfig”.
- During the installation process, when prompted to select components, click on the “Advanced” button.
- Browse to the location of your VSConfig file and select it.
- Click “Next” to proceed with the installation using the VSConfig file.
Using a VSConfig file can save you time and ensure that you only install the components you need.
Verifying Your Installation
After the installation process is complete, you should verify that Visual Studio has been installed correctly. Here’s how to do it:
- Open Visual Studio by clicking on the desktop shortcut or by searching for it in the Start menu.
- Check that the components you selected in the VSConfig file are installed and available.
- Try creating a new project to ensure that Visual Studio is functioning properly.
By following these steps, you can be confident that your Visual Studio installation is complete and that you have the necessary components to start developing.
Conclusion
Installing Visual Studio offline and using a VSConfig file to customize your installation can be a straightforward process. By following the steps outlined in this guide, you can download the offline installer, run it, and use a VSConfig file to tailor your installation to your specific needs. With Visual Studio installed and configured to your liking, you’ll be ready to start developing your next project.


