How to Transcribe Interviews Fast (Without Losing Your Mind)
A practical workflow for transcribing documentary interviews — tools, timecode tricks, and how to turn transcripts into an edit that writes itself.

Every documentary editor eventually faces the same wall: forty hours of interviews and no map. You can’t edit what you can’t find, and you can’t find a sentence buried in hour six of an interview you half-remember. The transcript is the map. Done well, transcribing is the single highest-leverage thing you do before the cut — it turns a shapeless pile of footage into something you can search, quote, and structure on paper.
Here’s the workflow I’ve settled into after enough projects to know what wastes time.
Why transcribe at all
Some editors skip it and edit straight from the footage. On a short piece, fine. On anything long, it’s a false economy. Transcripts let you do a paper edit — assembling the story in a document before you touch the timeline — which is faster and far less precious than hunting through clips. They make it possible to find every time someone says a key word. And they’re a record you’ll thank yourself for at fact-check and legal stages.
The tools
You have three broad options, and most docs use a mix.
Automatic transcription services. Otter.ai, Trint, and similar tools run audio through speech recognition and spit out a draft in minutes. The accuracy is good in clean audio and worse with accents, crosstalk, jargon, or noisy locations. Treat the output as a fast first draft, not a finished transcript.
Descript. This one deserves its own mention because it changed how a lot of editors work. It transcribes automatically, then lets you edit the audio and video by editing the text — delete a sentence in the transcript and it deletes from the timeline. For interview-driven docs and assembling radio-style cuts, it’s genuinely useful, especially early in the process.
Human transcription. A real person, either you or a service, listening and typing. Slow and more expensive, but accurate, and worth it for anything going to broadcast or anything legally sensitive.
| Method | Speed | Accuracy | Best for |
|---|---|---|---|
| Otter.ai / Trint | Very fast | Good in clean audio | First drafts, searchability |
| Descript | Fast | Good, plus text-based editing | Interview-driven assembly |
| Human | Slow | High | Broadcast, legal, final record |
The fast hybrid workflow
This is what actually works without driving you mad.
1. Auto-transcribe everything first
Run all your interviews through an automatic service the moment cards are offloaded. You get rough transcripts overnight, cheap, and now your whole project is searchable. Don’t clean them yet.
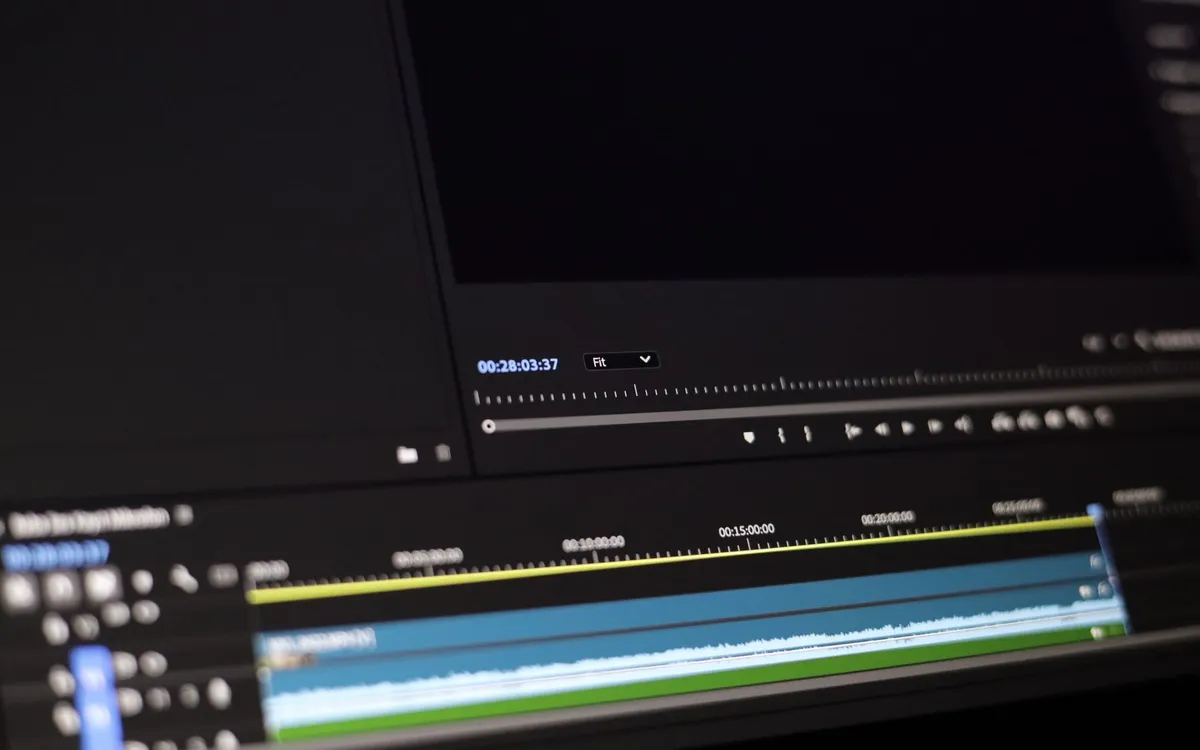
2. Keep timecode tied to text
This is the step people skip and regret. A transcript without timecode is half-useless — you’ll find the line but not where it lives in the footage. Choose a tool or export setting that keeps timecode against the text, or note timecodes manually at the top of each section. When you build your editing workflow, this link between word and frame is what makes a paper edit translate to the timeline.
3. Clean only what you’ll use
Don’t perfectly correct forty hours of auto-transcript. Read through, mark the strong material, and only clean up the sections you’re actually considering for the cut. Most of your footage won’t make the film; transcribing it to perfection is wasted effort.
4. Do a paper edit
With searchable, timecoded transcripts, build the story in a document. Copy the lines you want, in order, into a script. Move them around. Find the arc. This is far faster than doing it in the NLE, and it’s where the film’s structure is really decided. Some editors do this in Descript and let it cut the assembly for them; others stay in a word processor and rebuild in the timeline.
5. Pull selects into the edit
Now go to the software and assemble. Because your transcript carries timecode, finding each chosen line in the footage is a lookup, not a hunt. This is the moment the transcript pays for itself.
A few hard-won habits
Name your files so transcript, audio, and clip all match — future you, six months in, will be grateful. Note who’s speaking, especially in multi-person interviews where auto-tools mislabel constantly. And keep a master searchable document of all transcripts so you can find a theme across every interview at once, not one file at a time.
The point of all this isn’t speed for its own sake. It’s that a documentary is built from what people actually said, and you can only build deliberately if you can see all of it laid out as text. Get the transcript stage right and the rest of post — the editing workflow, even down to the final deliverables and captions — runs on a foundation that’s already searchable, sourced, and sane.
How to Transcribe Interviews Fast (Without Losing Your Mind)
The editing, color and audio tools we use to finish films. Subscribing through our partner links supports independent coverage.
See editing softwareSome links on Indian Point Film are affiliate links: if you buy or subscribe through them we may earn a commission, at no extra cost to you. It never changes our recommendations.
Keep reading
DaVinci Resolve vs Premiere Pro for Documentaries
One is free and grew up in the color suite. The other has thirty years of editorial habits baked in. For documentary, the choice is closer than people think.
The Best Video Editing Software for Documentaries
Documentary editing is an organization problem before it's a creative one. The best software is the one that keeps a thousand hours of footage findable.
How to Color Grade a Documentary: A Beginner's Guide
Documentary grading is mostly about making mismatched footage look like one film — and resisting the urge to make it look like a film it isn't.