Documentary Voiceover: How to Record Pro Narration
Record a documentary voiceover that sounds broadcast-ready: choose the right mic, tame your room, direct the read and hit real loudness targets. Start here.
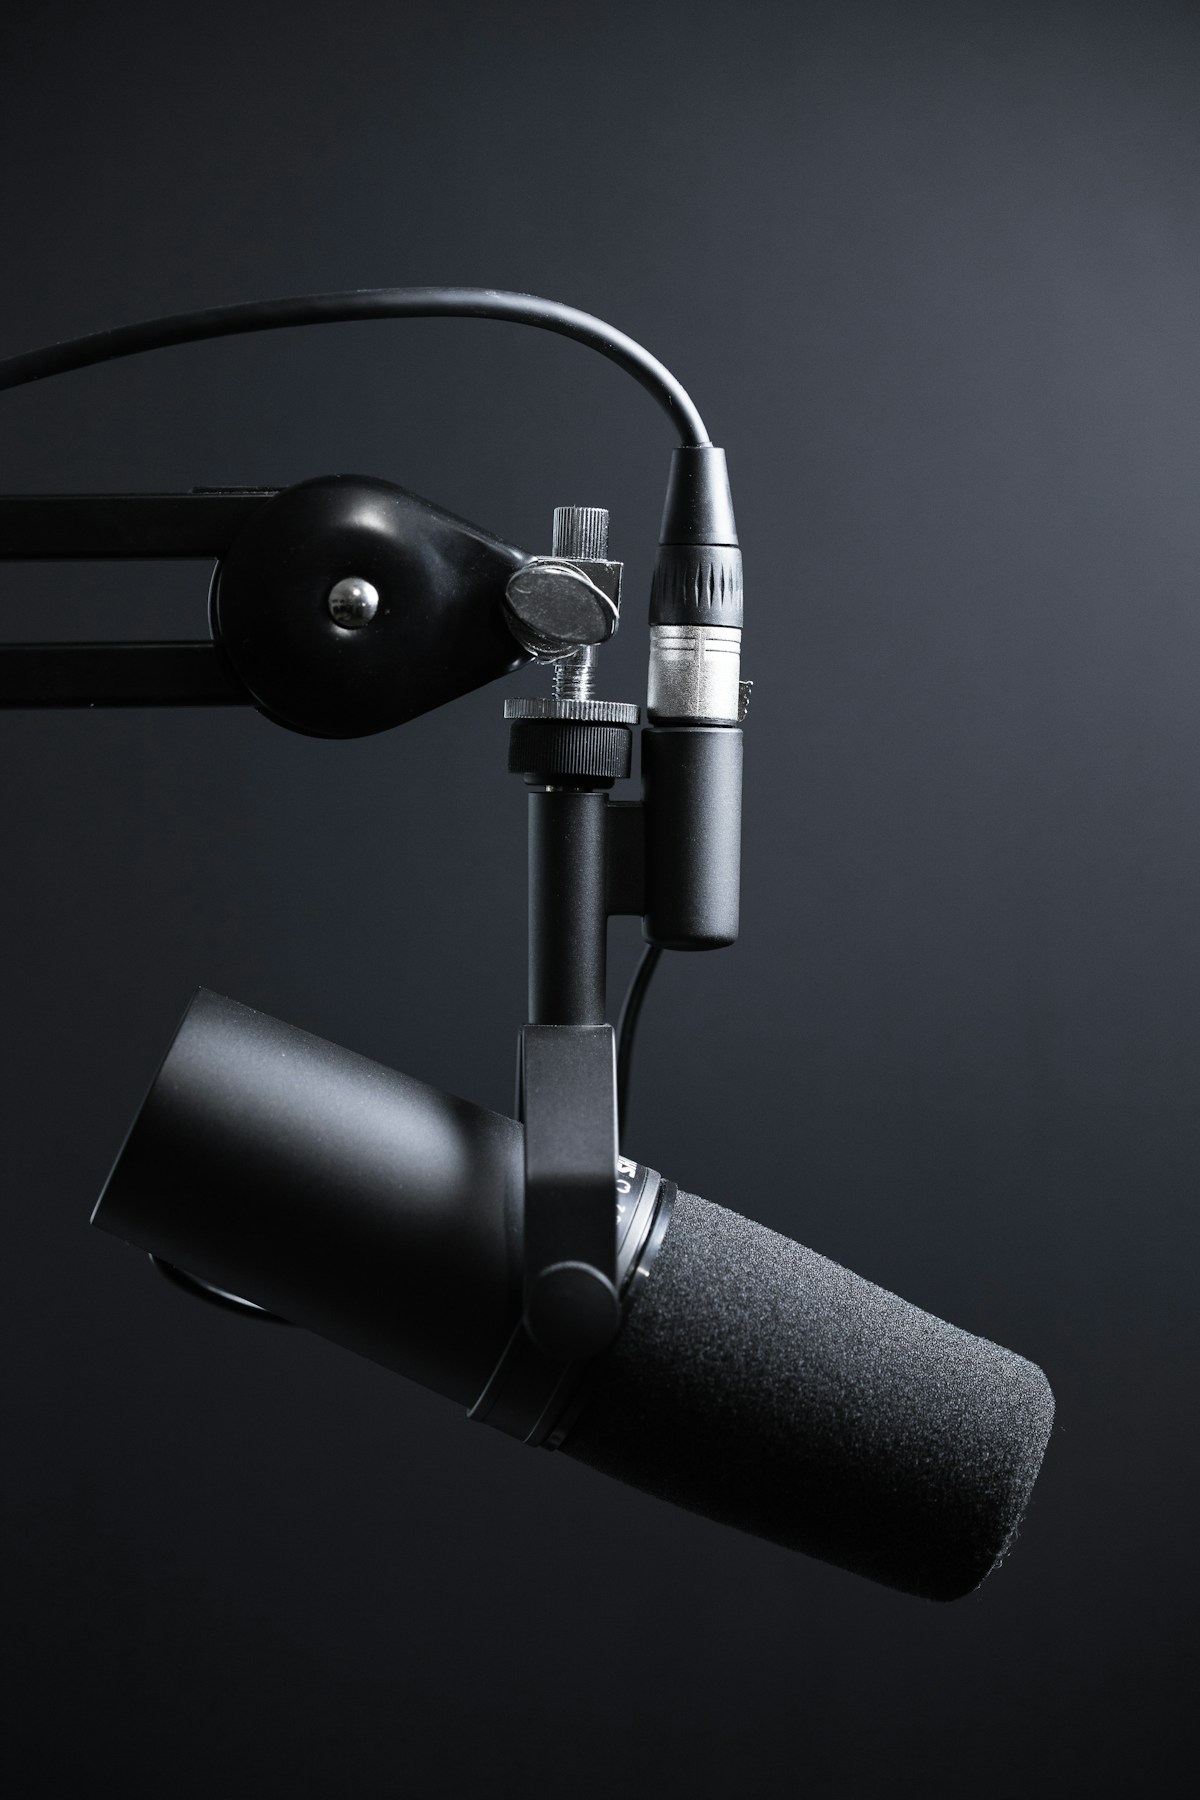
Does your documentary actually need a voiceover, or are you reaching for narration to paper over a story that has not found its shape yet? It is a fair question to ask before you buy a single microphone. A documentary voiceover can carry context that no interview ever delivers, but recorded badly it announces amateur hour inside the first ten seconds. The good news for a tight budget: getting it right depends far less on gear than most beginners assume.
First Decide Whether Narration Belongs at All
Before the technical choices, settle the creative one. Narration is a tool with a specific job, not a default setting. Three quick cases show when it earns its place.
A history film covering forty years of context cannot show most of that on screen, so a calm, authored narration becomes the spine that holds archive, interviews and stills together. Here voiceover is doing structural work nothing else can.
An observational film following one family through a single crisis is the opposite case. Drop narration on top and you flatten the very immediacy you spent months capturing. The room tone and the subjects’ own words are the point, and a narrator would talk over them.
The third case is the first-person essay film, where the director’s voice is the film. That read is intimate and imperfect on purpose, and it demands a different recording approach than an authoritative third-person narration. Naming which of these three you are making decides everything downstream, from the microphone to the direction you give.
Match the Microphone to Where You Will Actually Record
Once you know you need a voiceover, the first instinct is to buy the most expensive microphone you can afford. That instinct is usually wrong. The right mic is the one that suits your room, not the one that wins spec-sheet arguments.
The core choice is between two families. A large-diaphragm condenser captures detail and warmth beautifully, which is exactly why it also captures your refrigerator, your neighbour’s dog and the reflections bouncing off your bare walls. A dynamic microphone (the kind built for loud stages) hears far less of the room, so it forgives an untreated space and rejects background noise. For a first documentary voiceover recorded in a spare bedroom, that rejection matters more than raw fidelity.
Use case drives the pick:
- Untreated room, no time to treat it: a broadcast-style dynamic mic held close, so its tight pickup pattern shuts out the space around you.
- A small treated closet or booth: a large-diaphragm condenser, which rewards the quiet you have built with richer, fuller tone.
- Recording on location between shoots: the same field recorder you use on shoots, paired with a directional mic, keeps your kit small and your workflow familiar.
| Mic type | Best when | Main strength | Watch out for |
|---|---|---|---|
| Dynamic (broadcast) | Room is untreated or noisy | Rejects background and reflections | Needs close mic placement and clean gain |
| Large-diaphragm condenser | Room is quiet and treated | Detailed, warm, full tone | Hears every flaw in the space |
| Shotgun / directional | Location or run-and-gun | Tight pickup, familiar rig | Coloured tone if used off-axis |
Note that a narration mic is not the same tool as a lavalier. If you are used to reaching for a lavalier clipped on for sit-down interviews, understand that its job is discreet dialogue capture, not the controlled, full-bodied read a voiceover wants. Keep the two roles separate in your kit.
Turn Any Room Into a Usable Booth
Here is the part the gear reviews skip: the space you record in shapes the sound more than the microphone does. A modest mic in a dead-quiet room beats an expensive one in a hall of echoes every time. This is where a no-budget documentary can sound genuinely professional.
The enemy is reflection. Hard parallel surfaces (walls, floor, ceiling, window) bounce your voice back into the mic a few milliseconds late, and that smear is what makes home recordings sound hollow and boxy. You fix it not with fancy foam but with soft mass close to the mic.
A reliable, near-free method:
- Find the smallest soft room you have. A clothes closet packed with hanging garments is a better booth than a large living room, because fabric absorbs and the clothes kill reflections on every side.
- Get close to the mic. Roughly a hand-span away, speaking slightly across the capsule rather than straight into it, so plosives do not thump.
- Add a pop filter or an improvised one. A cheap nylon screen stops the bursts of air from “p” and “b” sounds that no amount of editing fully repairs.
- Kill the obvious noises. Fridge, ventilation, phone, hard drive fans. Record thirty seconds of silence and listen back loud to hear what you missed.
The most convincing narration I have heard on a micro-budget film was cut from takes recorded in a duvet fort. The story sold it, and the room never betrayed the budget.
Treat the room first, and a mid-priced mic will carry a whole feature.
Direct the Read, Do Not Just Capture It
A clean recording of a lifeless read is still a lifeless read. Performance is a selection criterion, not an afterthought, and it applies whether you hire a voice actor or narrate the film yourself.
If you are directing someone else, give them the film’s intent before the script. A narrator who understands that a passage is meant to sound doubtful, or quietly angry, or matter-of-fact will deliver it in one or two takes. A narrator handed cold pages will give you a newsreader tone that fights every honest frame you shot.
If you are narrating your own first-person film, the trap is over-performing. Read to one person, not to a crowd. Slow down more than feels natural, breathe where the sentence breathes, and let small imperfections stay: they read as sincerity, not error. Record every line at least three times so you have choices when you assemble the track.
A few habits that lift any read:
- Warm up the voice with a glass of water at room temperature and a few minutes of talking before you hit record.
- Mark the script for emphasis and breath, the way an actor marks a screenplay.
- Record in short passages, not one exhausting marathon, so energy stays even across the film.
- Keep a take log noting which read you preferred, so editing does not become a guessing game.
When you drop the narration into your edit, having those alternate takes ready lets you fix a rushed line without recalling the narrator. It is worth planning that hand-off before you record, so the way you organise the narration inside your editing workflow matches how you labelled the takes on the day.
Hit Broadcast Loudness Without a Studio
The last gap between a home voiceover and a professional one is level. Two problems recur: the read is either too quiet and noisy, or wildly uneven from line to line. Both are solvable in post, but only if you recorded with headroom in the first place.
Record so your loudest peaks sit comfortably below the ceiling (leaving margin, rather than slamming the meter), which keeps the take clean and gives you room to shape it later. Then, at the mix stage, you match a loudness target rather than eyeballing a waveform.
This is where real, published standards matter. EBU R128 sets an integrated loudness target of -23 LUFS for European broadcast delivery, and the North American equivalent, ATSC A/85, specifies -24 LKFS. Streaming platforms and festivals each publish their own preferred figure, so confirm the exact target for wherever your film is going rather than guessing.
Practical order of operations at the mix:
- Clean up hums and clicks first, before touching level.
- Even out the dynamics gently so the quiet lines and loud lines sit in the same range.
- Set the voice against the film, so narration stays clearly above music and effects. When it sits under music you have properly licensed, the read must still win the foreground without you shoving the score down to nothing.
- Meter to your delivery target, then confirm the final integrated loudness matches the spec.
Whatever number you are asked for, write it down early. Putting the loudness figure on your film deliverables checklist alongside frame rate and codec stops a last-minute scramble when a broadcaster or platform rejects a mix that sounded fine on your laptop.
Your Documentary Voiceover Recording Plan, Step by Step
Pull the decisions into one order and the whole job stops feeling technical and starts feeling like a craft you control:
- Decide if you need narration at all, and which of the three types (structural, absent, or first-person) your film calls for.
- Choose the mic for your room, not the spec sheet: dynamic for untreated spaces, condenser for a quiet booth, directional on location.
- Treat the space before anything else, using soft mass and close mic placement to beat reflections for free.
- Direct the read, briefing the narrator on intent, capturing multiple takes, and keeping a log.
- Record with headroom, then mix to a real loudness target such as the broadcast figures above, confirmed against your actual delivery destination.
- Document the loudness spec on your deliverables list so the film passes technical review the first time.
Work through those six steps in order and a documentary voiceover recorded in a closet can hold its own next to a studio track, because the things that actually decide the result (the choice to narrate, the room, and the performance) cost nothing but attention.
Documentary Voiceover: How to Record Pro Narration
The editing, color and audio tools we use to finish films. Subscribing through our partner links supports independent coverage.
See editing softwareSome links on Indian Point Film are affiliate links: if you buy or subscribe through them we may earn a commission, at no extra cost to you. It never changes our recommendations.
Keep reading
Documentary Footage Backup: A Shoot-Ready Routine
Improvisation is where footage dies. Name your shoot type, commit to 3-2-1, verify every copy, and run a wrap routine you can execute half-asleep.
DaVinci Resolve vs Premiere Pro for Documentaries
One is free and grew up in the color suite. The other has thirty years of editorial habits baked in. For documentary, the choice is closer than people think.
The Best Video Editing Software for Documentaries
Documentary editing is an organization problem before it's a creative one. The best software is the one that keeps a thousand hours of footage findable.