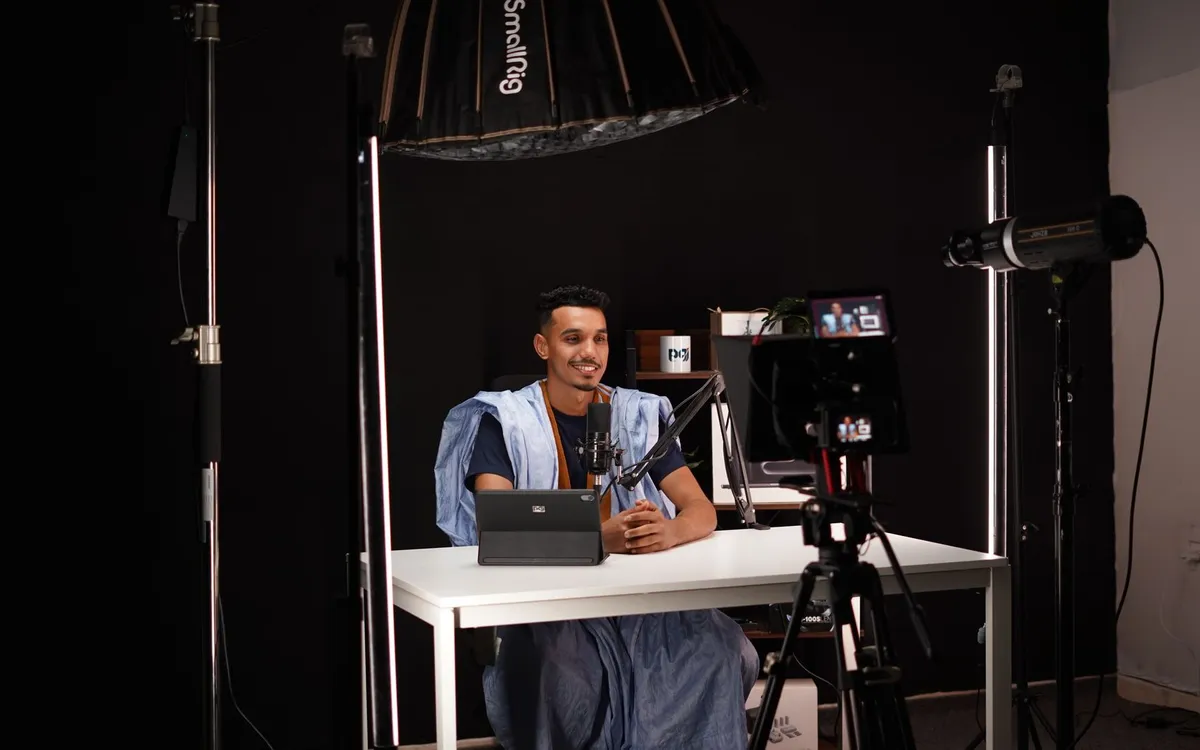
You can shoot a whole documentary on available light and many great ones have been. But the sit-down interview is the one place where a little control transforms everything. A subject lit with intention reads as serious, credible, worth listening to. The same person under a ceiling fluorescent reads as a hostage video. The good news: the principles are simple, and the gear to execute them is cheaper now than it’s ever been.
Let me walk through the classic three-point setup, then the lights I’d actually buy, then the shortcuts for when you’re moving fast.
The three-point setup
Three lights, three jobs. It’s a recipe, not a law, but it’s the place to start.
The key light is your main source. Put it off to one side of the camera, roughly 45 degrees to the subject and a bit above eye level, angled down. This is the light that shapes the face. Bigger and softer is almost always better — a small hard light carves harsh shadows, while a large soft source wraps gently around the face and flatters almost everyone. That’s why softboxes and diffusion exist.
The fill light sits on the opposite side, softer and dimmer than the key. Its only job is to lift the shadows the key creates so they don’t go pure black. How much fill you use sets the mood: lots of fill is clean and neutral, very little fill is dramatic and moody. You can even skip a dedicated fill and use a cheap white bounce board to kick some key light back into the shadows.
The backlight (or hair light) goes behind the subject, aimed at the back of the head and shoulders. It draws a subtle rim that separates them from the background — the single trick that most reliably makes a shot look “professional” rather than flat.
The lights worth buying
Aputure Amaran / 120d series — the budget LED that punches up
Aputure built its reputation on giving indie shooters real output for sensible money. The Amaran line and the brighter 120d (around $300–$400) are bright, color-accurate LEDs that take a softbox or a bounce. One 120d into a softbox makes a gorgeous key. Add a cheaper second unit for backlight and you’ve got a serious interview kit.
Godox SL60W — the workhorse for the money
The Godox SL60W (around $130) is the light that taught a lot of us that you don’t need to spend a fortune. It’s a daylight-balanced LED with a standard mount, so it takes any softbox, and it’s bright enough for a key in a controlled room. Buy two or three of these and you’ve lit an interview for the price of one premium fixture.
Small on-camera / pocket LEDs — Aputure MC, Lume Cube
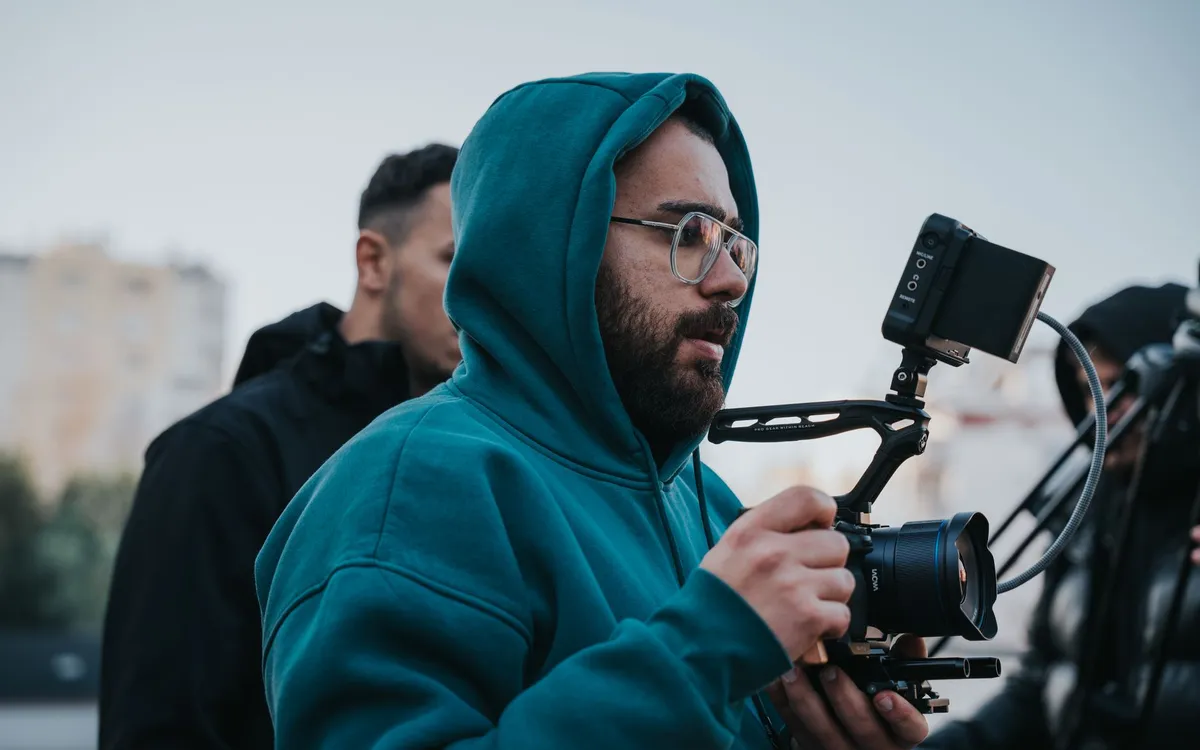
For run-and-gun, a pocket LED like the Aputure MC is a lovely thing — RGB, rechargeable, and small enough to gaff-tape behind a subject for an instant backlight when you’ve no time to rig stands. Not a key-light replacement, but a brilliant problem-solver. They pair naturally with a gimbal-based run-and-gun setup when you’re moving fast.
Don’t forget light shaping
The light is half the battle; what you put in front of it is the other half. A cheap softbox or a collapsible diffusion panel turns any hard LED into a flattering source. A reflector (even a $20 5-in-1) gives you fill for free. And a couple of light stands and clamps are unglamorous but essential. Honestly, spending $50 on diffusion does more for your image than spending $300 more on the light itself.
Quick reference
| Light | Output | Best for | Rough price |
|---|---|---|---|
| Aputure 120d | High | Key light in a softbox | ~$300–$400 |
| Godox SL60W | Medium-high | Affordable key/fill | ~$130 |
| Aputure MC | Low (pocket) | Backlight, run-and-gun | ~$90 |
| 5-in-1 reflector | — | Free fill | ~$20 |
Putting it together fast
When you’re short on time — and in documentary you usually are — here’s the priority order. First, get a soft key on the subject from one side: that alone fixes 80% of bad interview lighting. Second, lift the shadow side, even just with a bounce board. Third, if you have one light left, put it behind them as a backlight.
Watch where you place the subject relative to the background. A few feet of separation, with the background slightly darker or out of focus, does as much for the look as any light. And mind your color temperature — mixing a daylight LED with a warm tungsten lamp in the same frame gives you a green-and-orange mess that’s a pain to grade out. Kill the room lights or gel your fixtures to match.
The whole point of lighting an interview isn’t to make it look “cinematic” for its own sake. It’s to make your subject look like someone worth believing, and to get the picture out of the way so the words land. Light with that goal and even a $130 LED will serve you well. If you’re assembling everything at once, see how lighting fits into a complete documentary kit under $2,000.
How to Light an Interview: A Practical Setup Guide
We test and recommend documentary gear independently. Buying through our partner links helps fund the magazine, at no extra cost to you.
Browse gear at B&HSome links on Indian Point Film are affiliate links: if you buy or subscribe through them we may earn a commission, at no extra cost to you. It never changes our recommendations.
Keep reading
The Best Cameras for Documentary Filmmaking
Forget the spec-sheet wars. Here's what a documentary camera actually needs to do, and the bodies that do it.
The Best Lavalier Microphones for Interviews on a Budget
Bad sound kills a documentary faster than bad pictures. Here are the lav mics that'll save your interviews without draining the budget.
The Best Audio Recorders for Documentary Sound
Your camera records sound. It records it badly. Here's why a dedicated field recorder belongs in your bag, and which one to buy.